
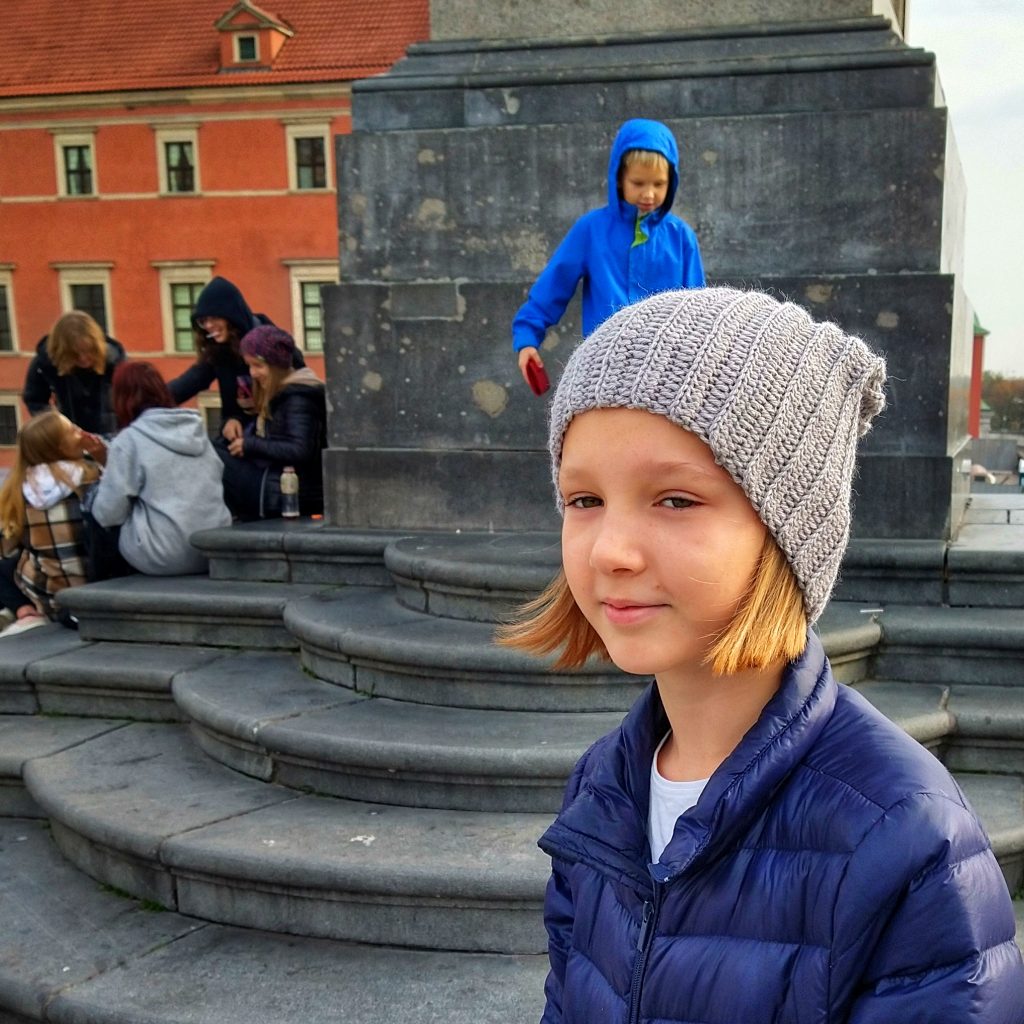
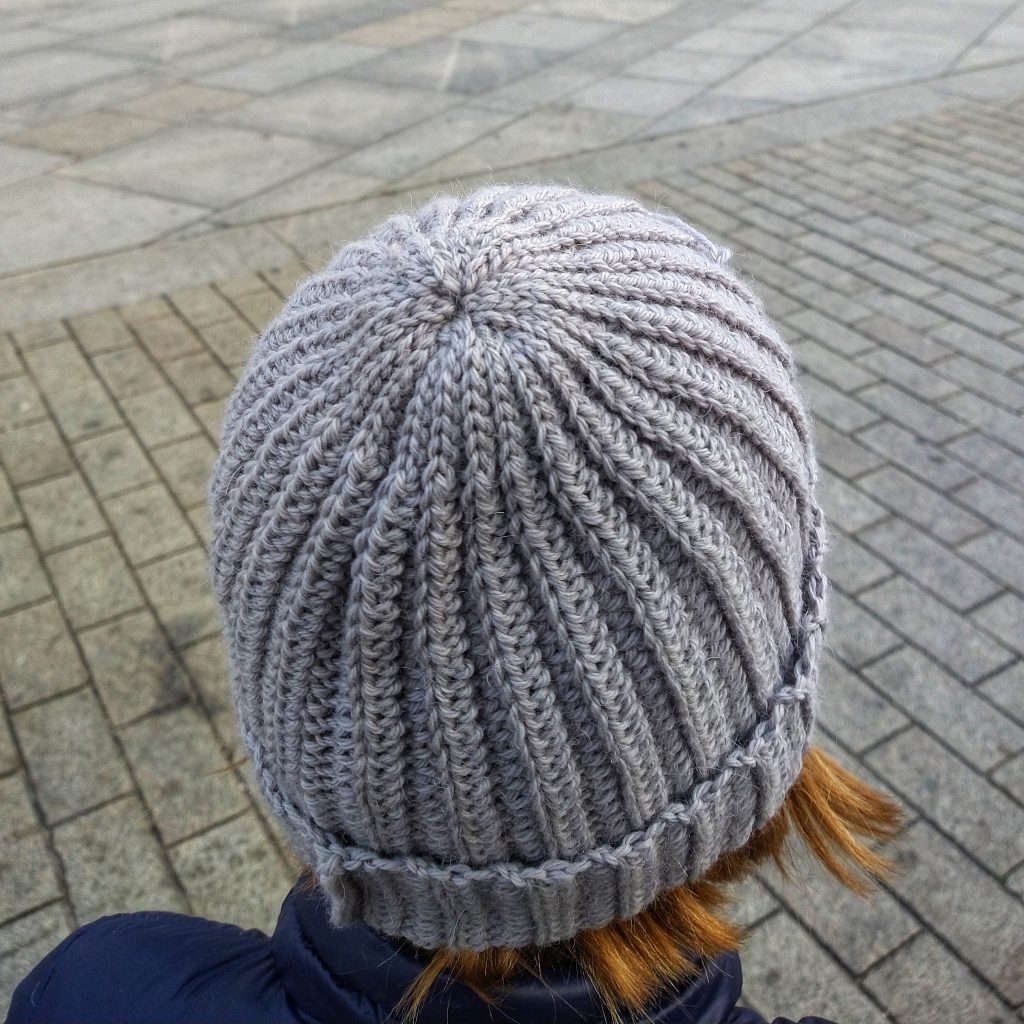
From the beginning of autumn ’til spring streets are filled with people wearing classic woolen hats. Different yarns, diffrenet colors (or colorways), big and small, women, men, teenagres and little children: so many of them wear similar style. Why? Because it is so comfortable and universal.


I’ve seen so many hat patterns in this style – knit or crochet, and I wanted to write my own, too. I’ve experimented with a few stitches, yarns, colorways and sizes. The pattern you can find below was made so many times I decided I need to share it with you: I can make it again and again. And believe me: it is beginner friendly crochet hat! You can make it, too!
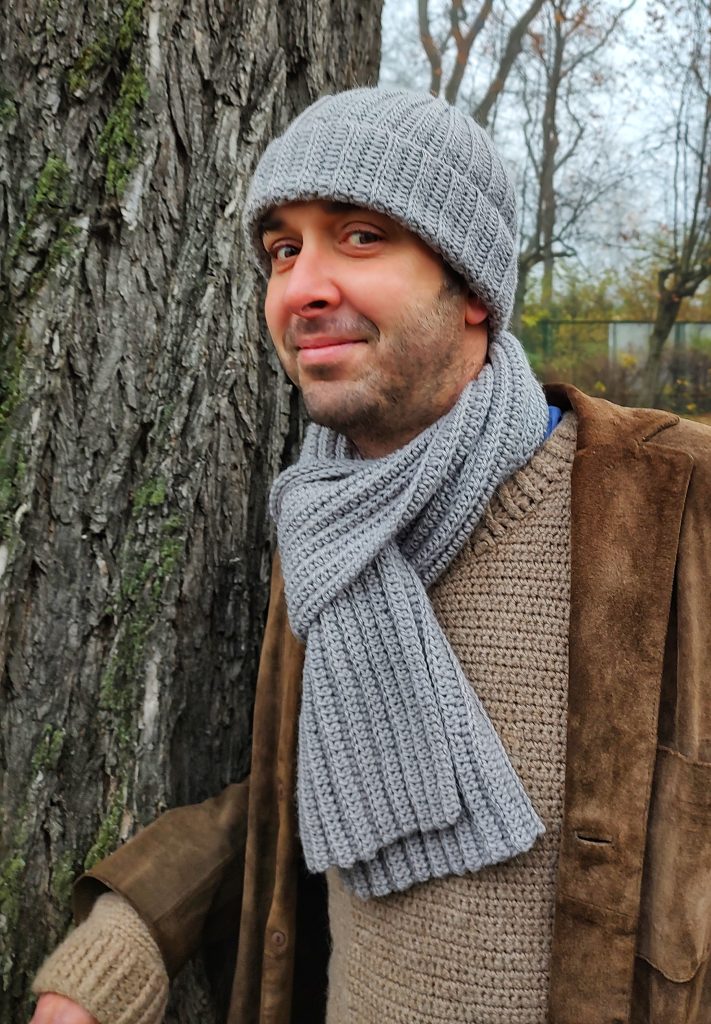
ADD MATCHING SCARF AND MAKE A WINTER SET, SEE HERE.


This simple, classic hat is very easy to make and customize. Universal style allows to wear it by all – big and small. It’s also a wonderful, quick to make and giftable project! Treat the basic pattern as an inspiration for your own modifications: instructions given will help you with that!
Don’t let anyone you love freeze anymore!
Now you can also make matching Classic Scarf, see pattern HERE.
If you want to support me, consider one (or more!) of those actions:
Purchase printable PDF on Etsy HERE or on LoveCrafts HERE.
Add this pattern to your Ravelry account HERE.
Pin it for later HERE.
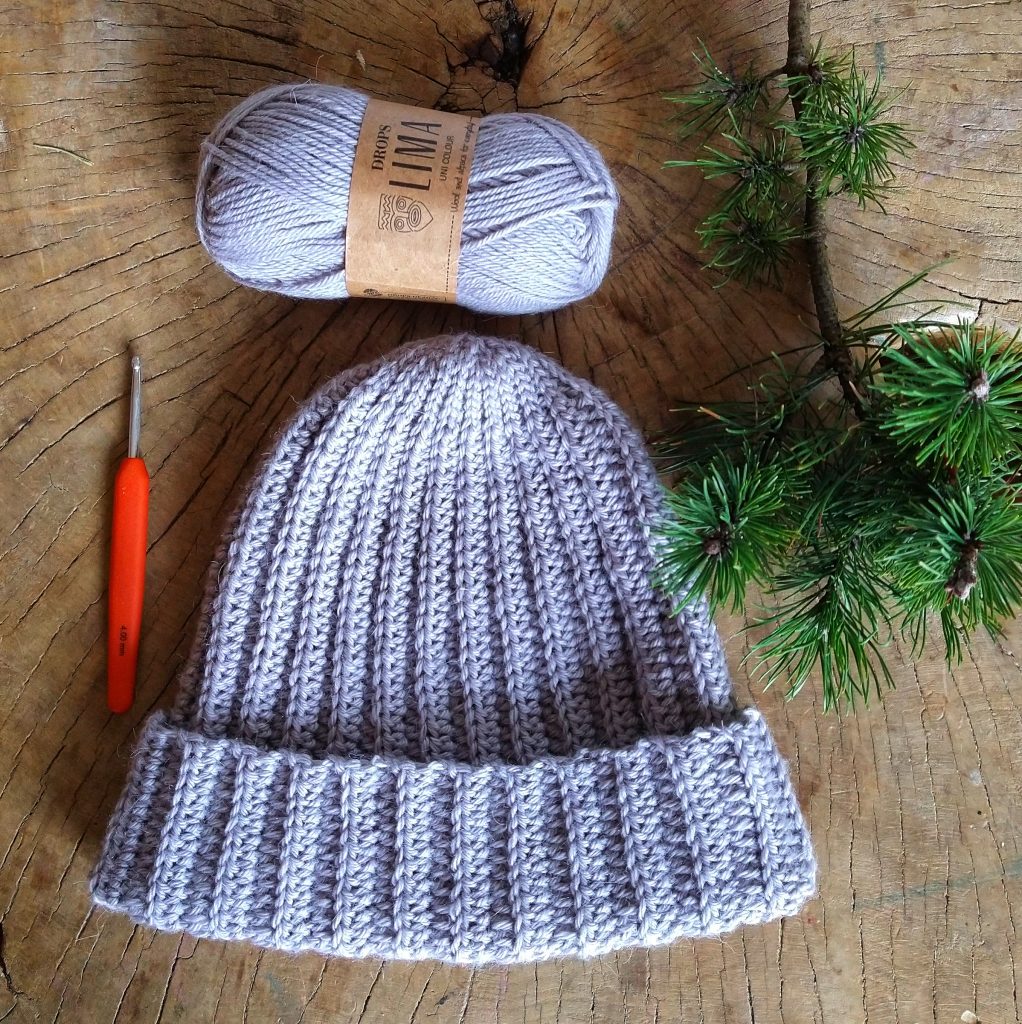
Supplies
- US G-6 (4 mm) hook
- scissors
- tapestry needle
- yarn: Drops Lima (65% wool, 35% alpaca, 100 m/50g, 8 ply/DK/worsted, 1 skein has approx 109 yds/100 m in 1.8 oz/50 g)
color: grey (9010): 2 skeins
For yarn substitution, visit: yarnsub.com.
Gauge
10 cm/4”=19 hdc blo x 10 rows
Finished Size (measured flat)
One size
length: 30 cm/12”
width (along bottom edge): 23 cm/9”
Thanks to elastic stitching, this size will be suitable for most adult heads, measuring 55-58cm/21,5-23” in circumference. When needed, you can easily change both length and width, by following instructions given at the end of the pattern.
Abbreviations (in US terms)
blo – back loop only
ch – chain
hdc – half double crochet
rep – repeat
sl st – slip stitch
st/s – stitch/es
Notes
- Beanie is crocheted in rows, using hdc and sl st, worked in back loop only.
- In each row work 46 hdc and 8 sl sts in given order, 54 sts total. Turning chains DO NOT count as stitch, see below.
- Start each even row with ch1, next work sl sts, next hdc. Start odd rows with ch2, next work hdc sts, next sl sts.
- After completing given number of rows, form a narrowing tube, joining the last row to foundation chain.
- To finish, close the tube on the narrow end and fold the bottom edge up.
PATTERN
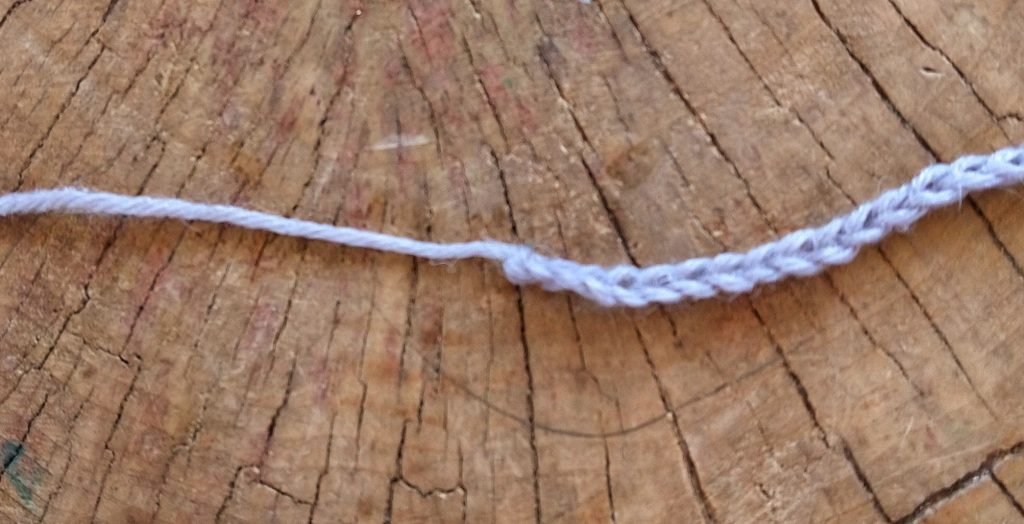
Before you start, leave a strand of yarn about 7cm/2-3” long – see picture, next: ch56.
Row 1: Hdc in 3rd ch from hook, hdc in 45 next sts, sl st in final 8 sts. Turn. (54 sts here and throughout)
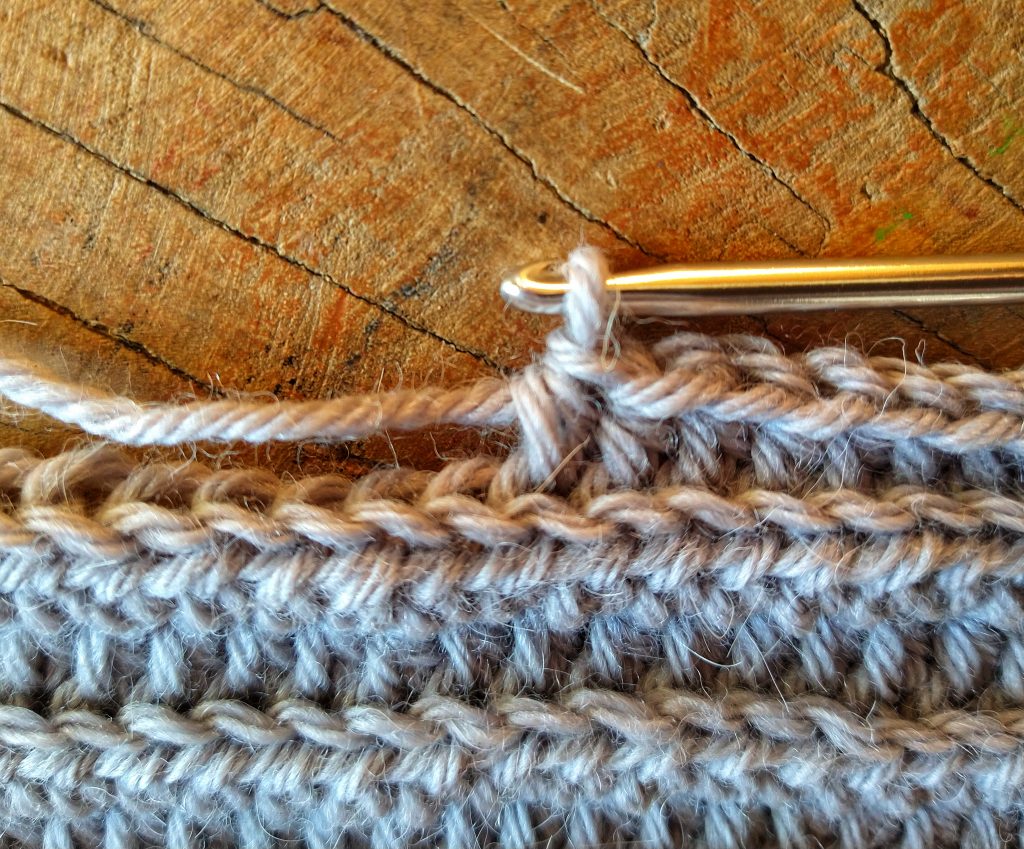
Row 2: Ch1, 8 sl sts blo, 46 hdc blo. Turn.
Row 3: Ch2, 46 hdc blo, 8 sl st blo. Turn.
Rows 4-49: Rep Row 2 and 3.
Row 50: Rep Row 2.
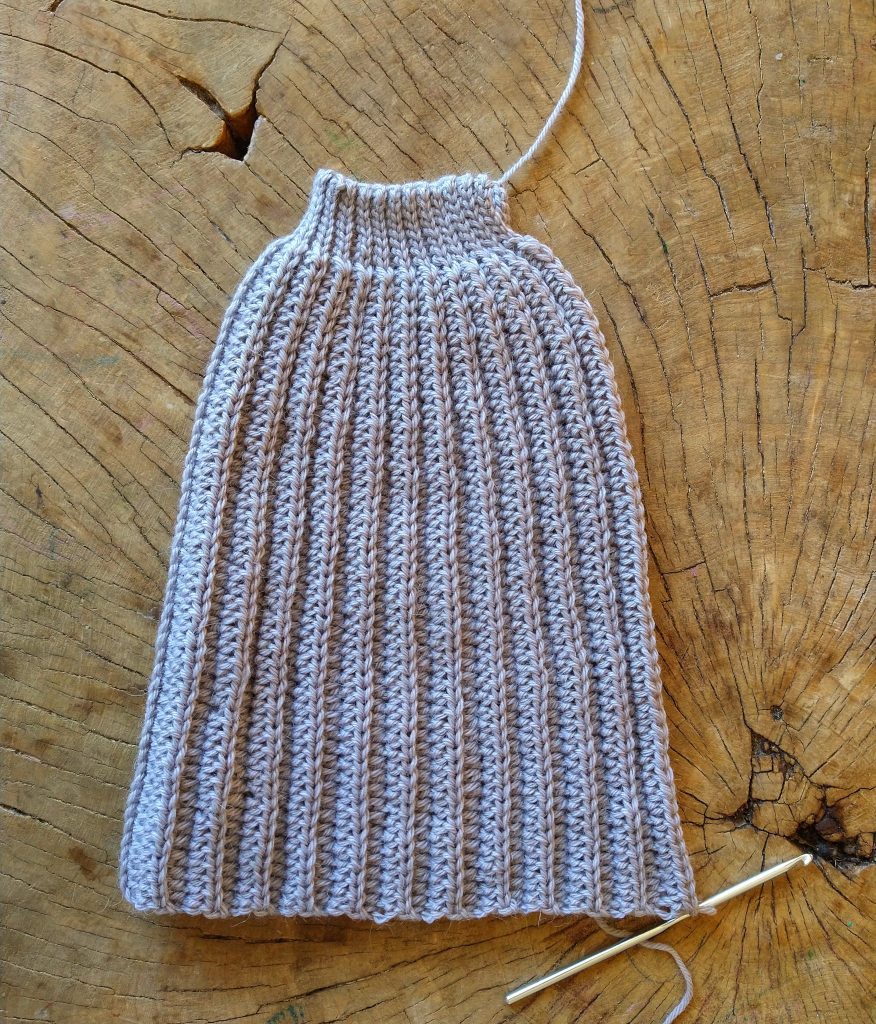
We get a trapezoid shape:
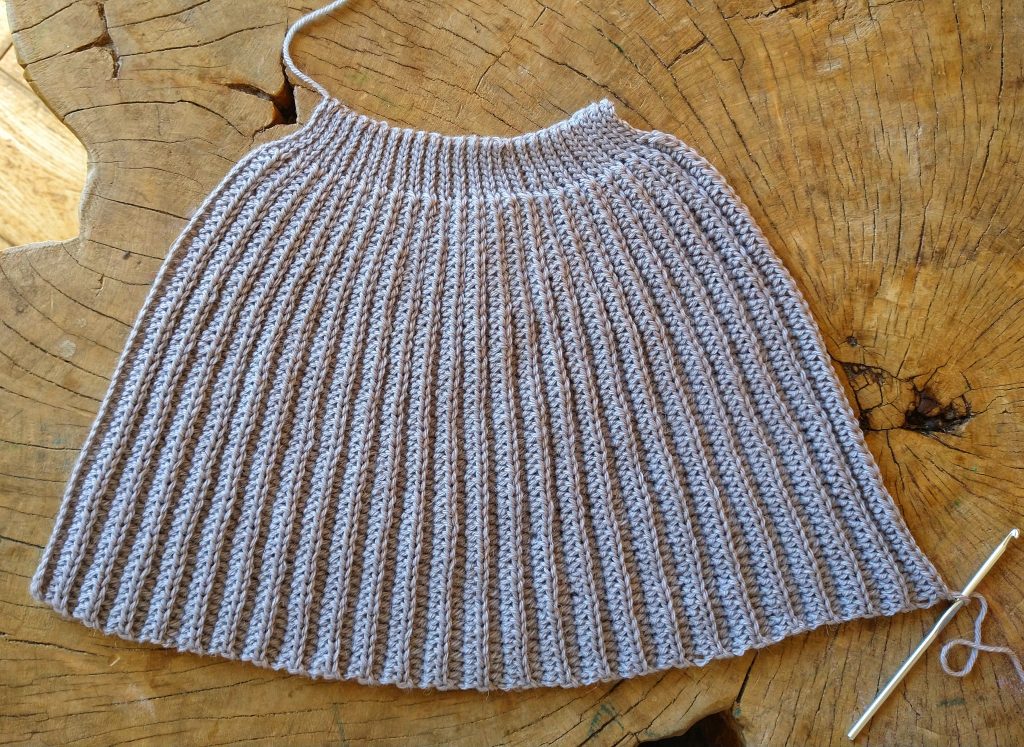
Fold in half, along foundation chain.
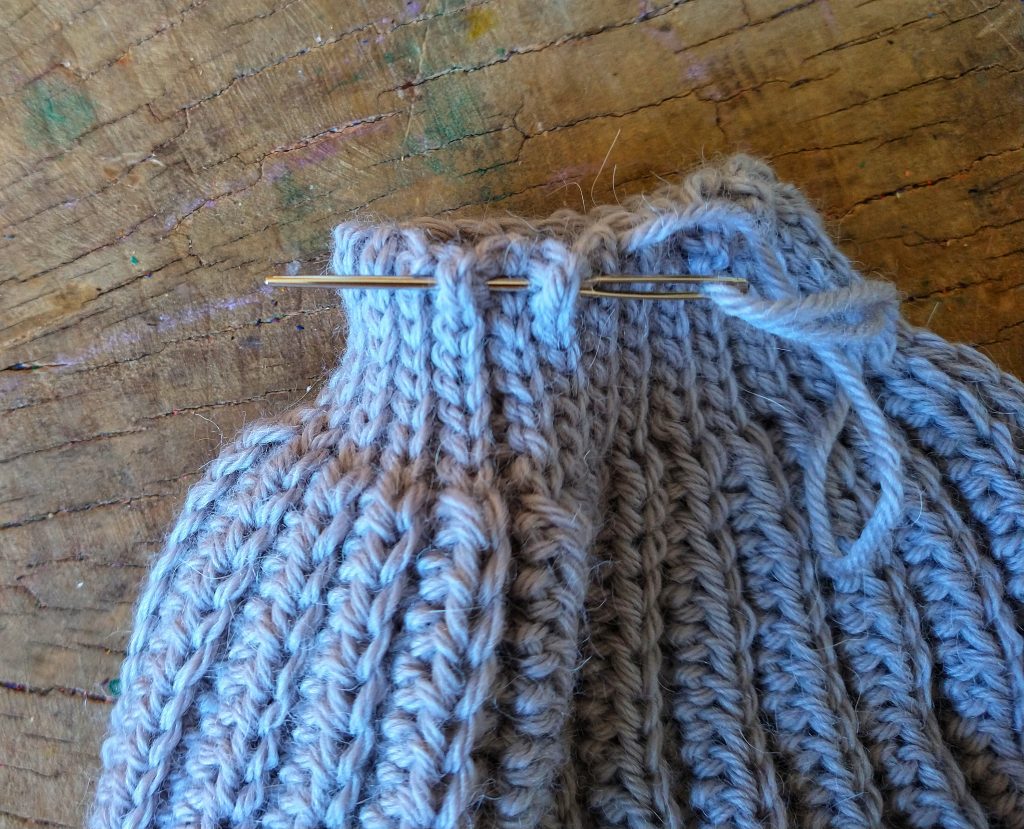
Row 51, close the tube: Ch2, 46 hdc, worked in TWO layers: back loop of Row 50 and in foundation chain. Next: 8 sl st in the same manner.
Next, cut off yarn, leaving about 12cm/5”long tail, fasten off.
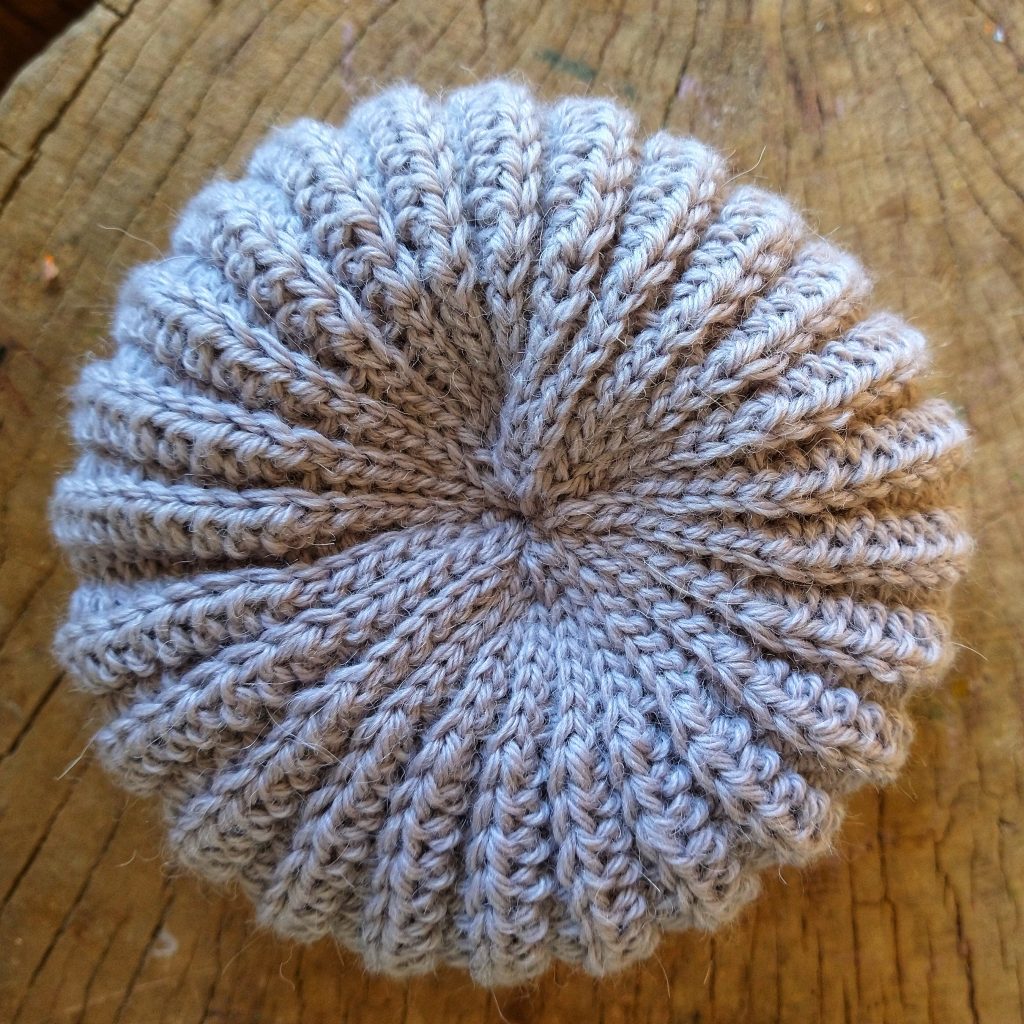
Using tapestry needle, weave the yarn tail around the top hole.
Next, pull yarn tight, to close the hole. Tie it tight, using the piece of yarn that was left before we started foundation chain (see beginning of pattern).
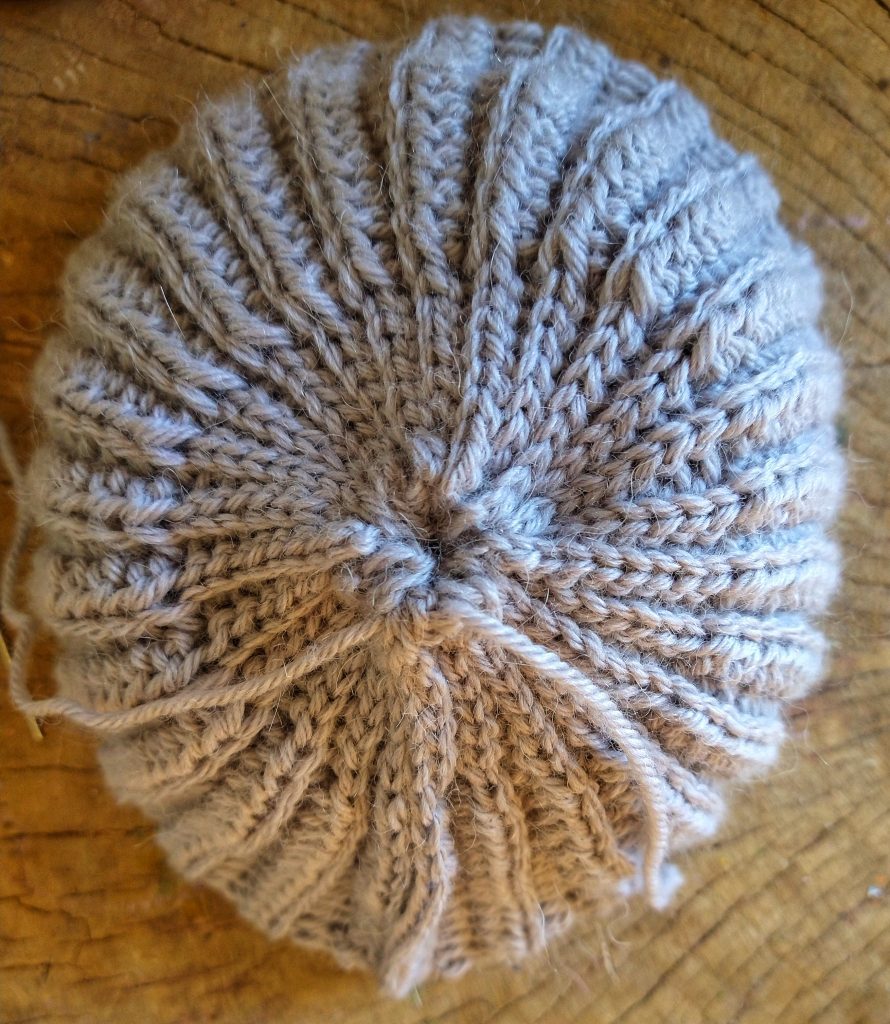
Using tapestry needle, weave in all ends.
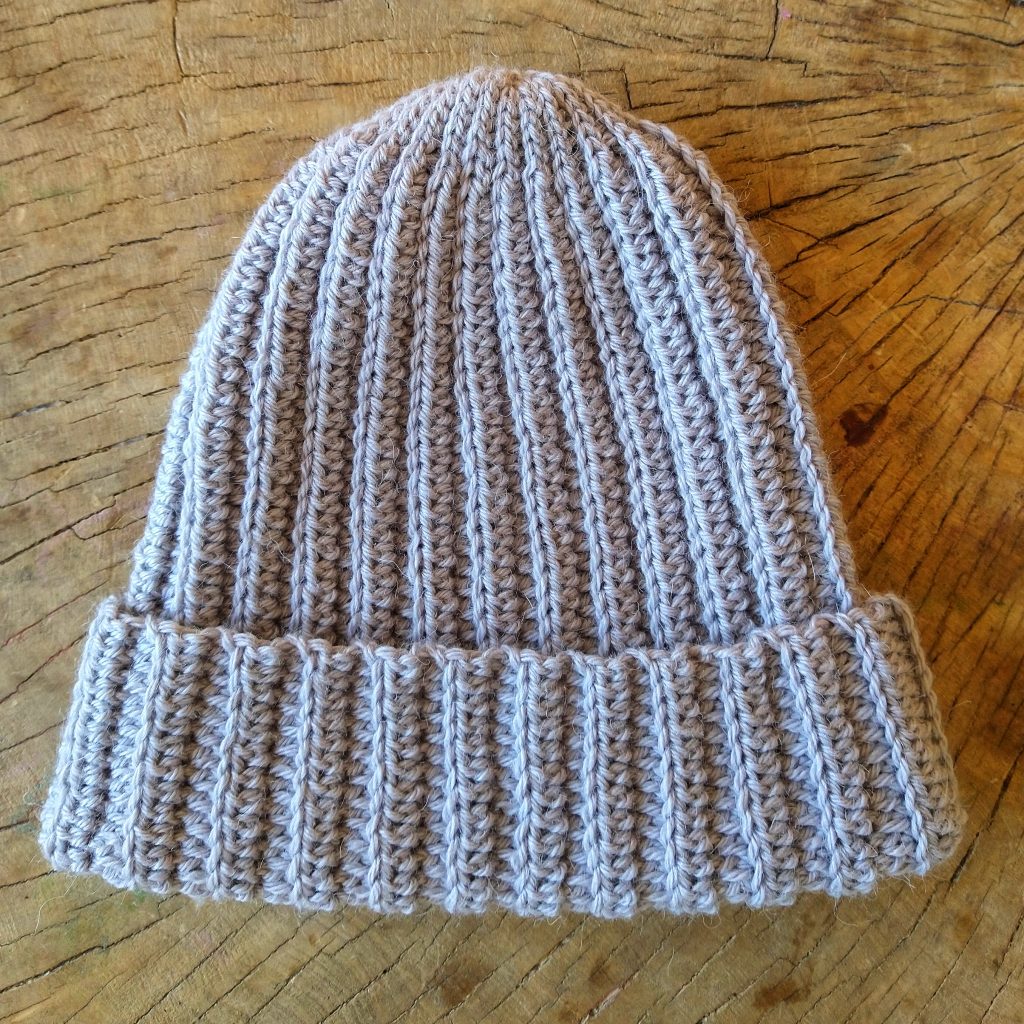
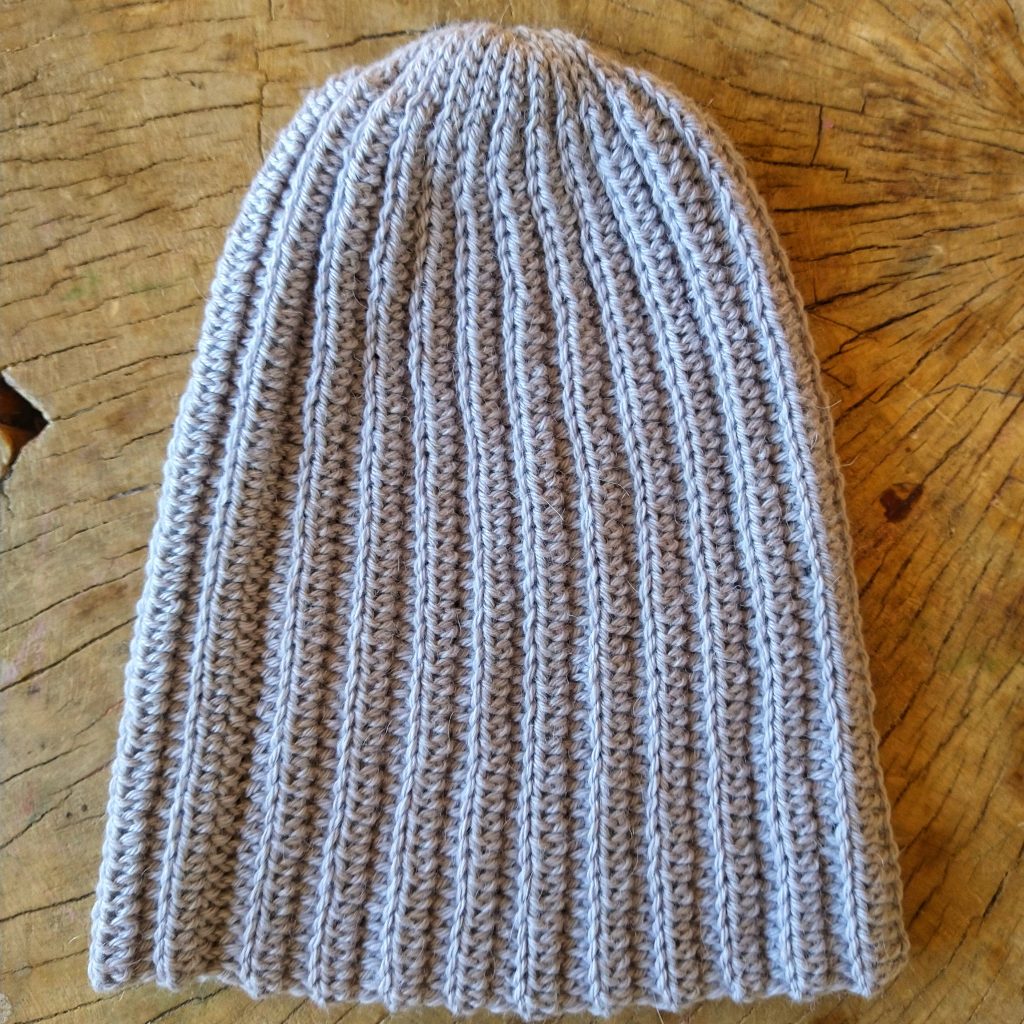
Turn the beanie inside out and fold the bottom edge up (or not – to your liking).
Don’t have time? Why don’t you make a tiny version in no time to decorate your Easter table or Christmas tree? See MINI HATS Free Pattern HERE.


Variations
- SIZE
To make the beanie LONGER, start with more chains in the foundation chain. If you need it to be shorter – the foundation chain should be shorter, too.


To make the beanie WIDER, make more rows. To make sure it fits well, wrap it around head, while working. This way you can also make the beanie narrower, by making less rows. Just remember to make odd number of rows, to finish with the end of yarn at the top of the beanie. It’s not necessary, but in my opinion: convenient.
- DIFFERENT YARN
You can use different yarn, than proposed in the pattern. Thinner yarn will result in more delicate beanie, thicker yarn will make the beanie more chunky. In any case, I suggest to make the foundation chain to measure about 30 cm/12” long, it should fit most adult heads. Next, adjust width by wrapping around head, while working, as described above.


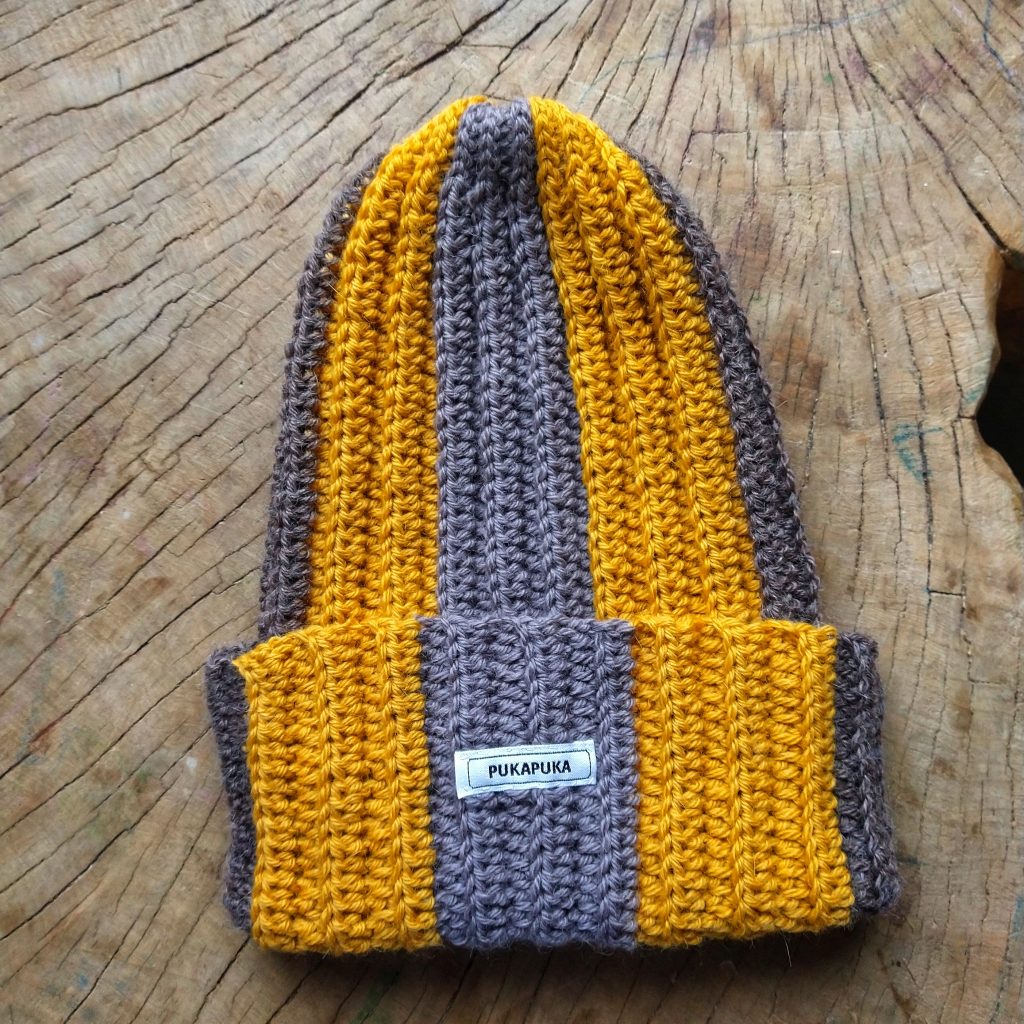
- COLORS
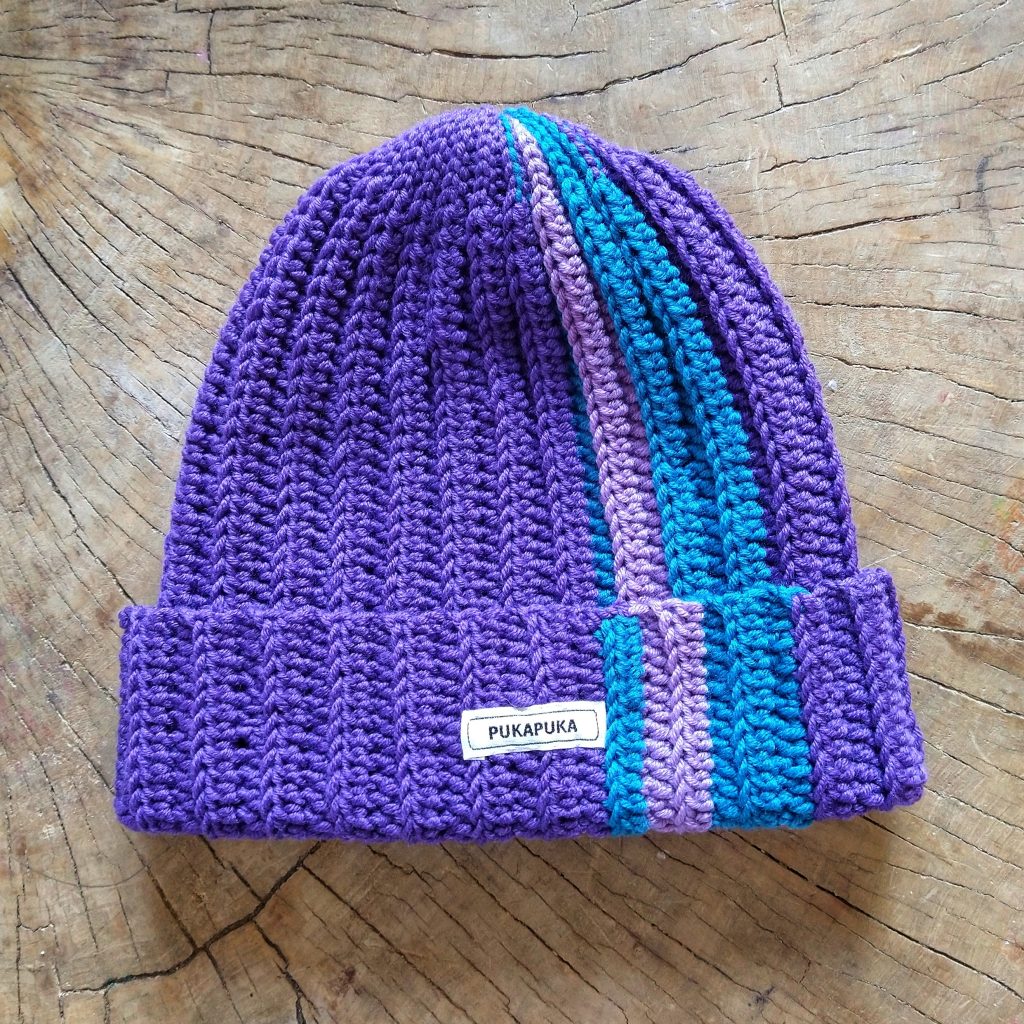
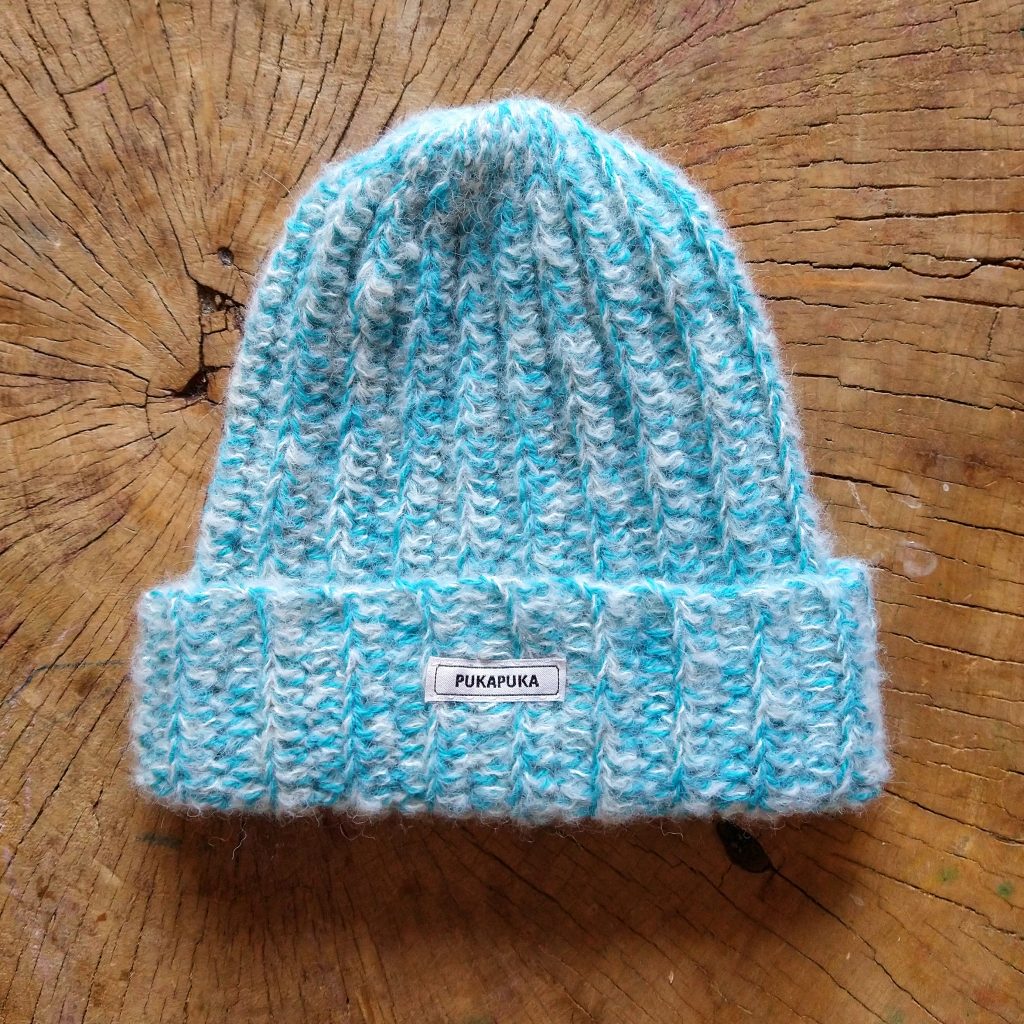
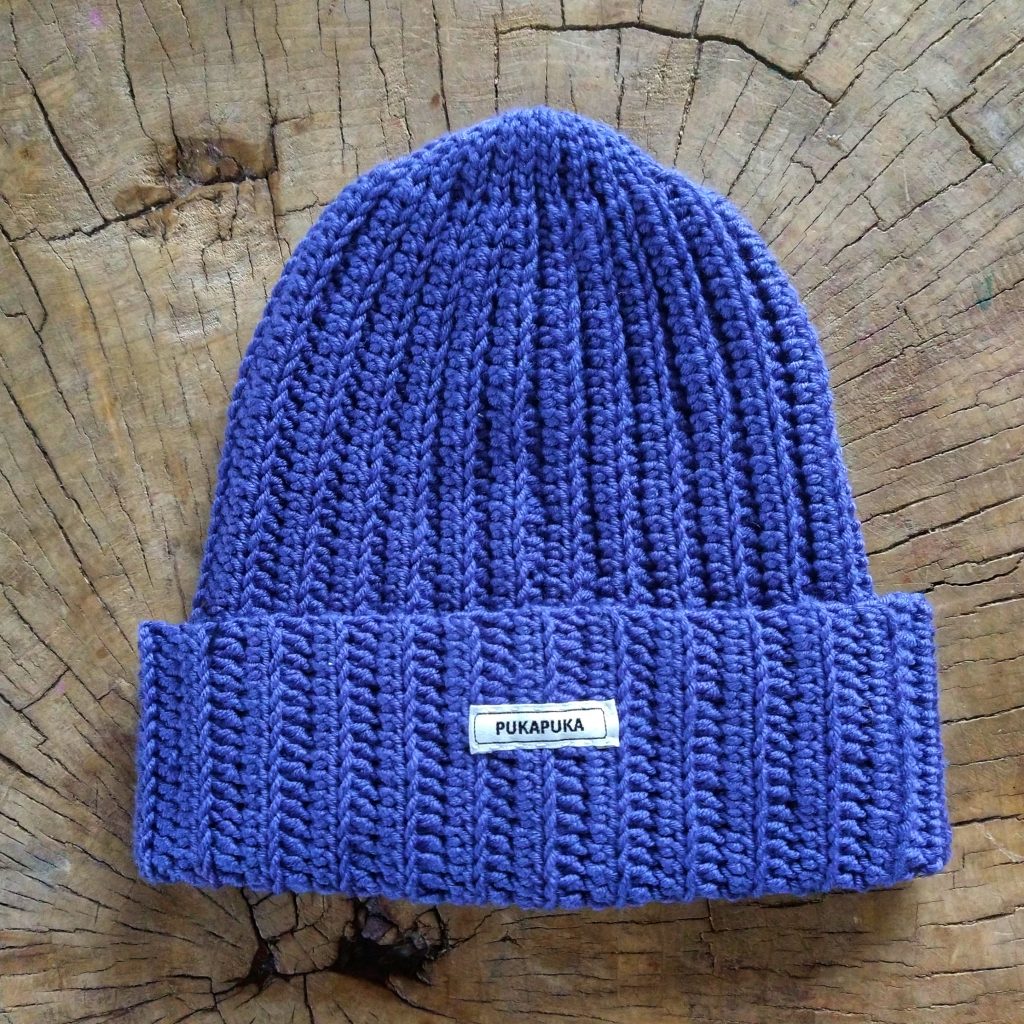
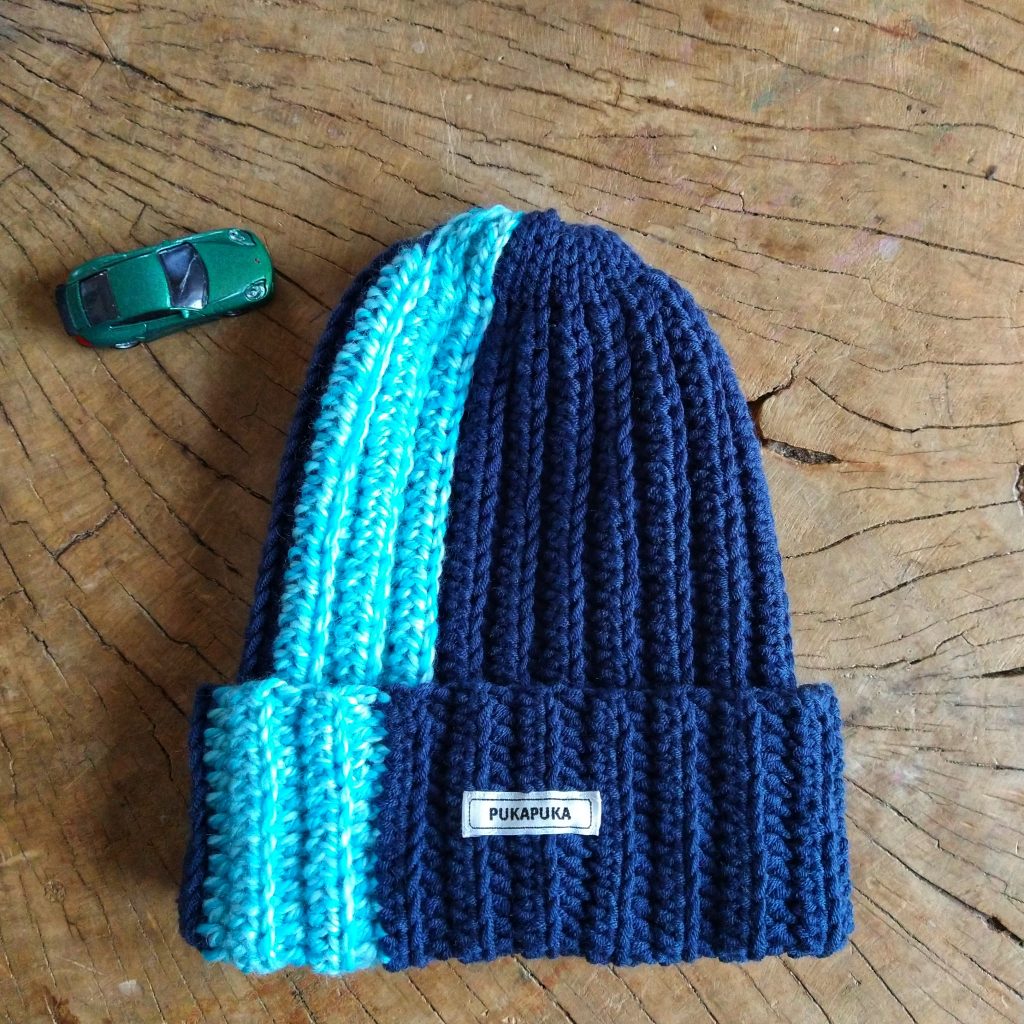
The construction of beanie allows easy color changes. Use up your leftover yarn, to add 1, 2, 3 or more rows in contrasting (or similar) colors.


You can either add single stripes of different color, or make the whole beanie in 3 (or more) color blocks. Possibilities are endless!
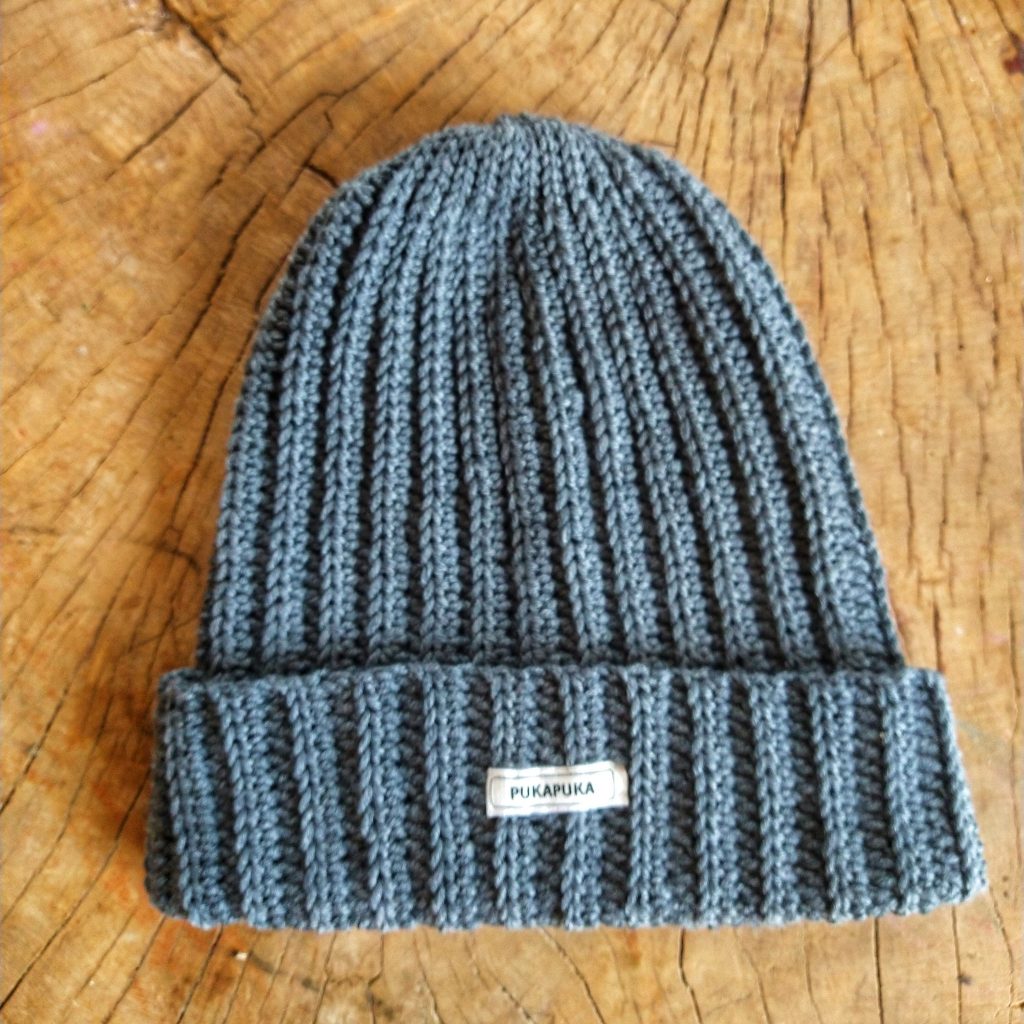
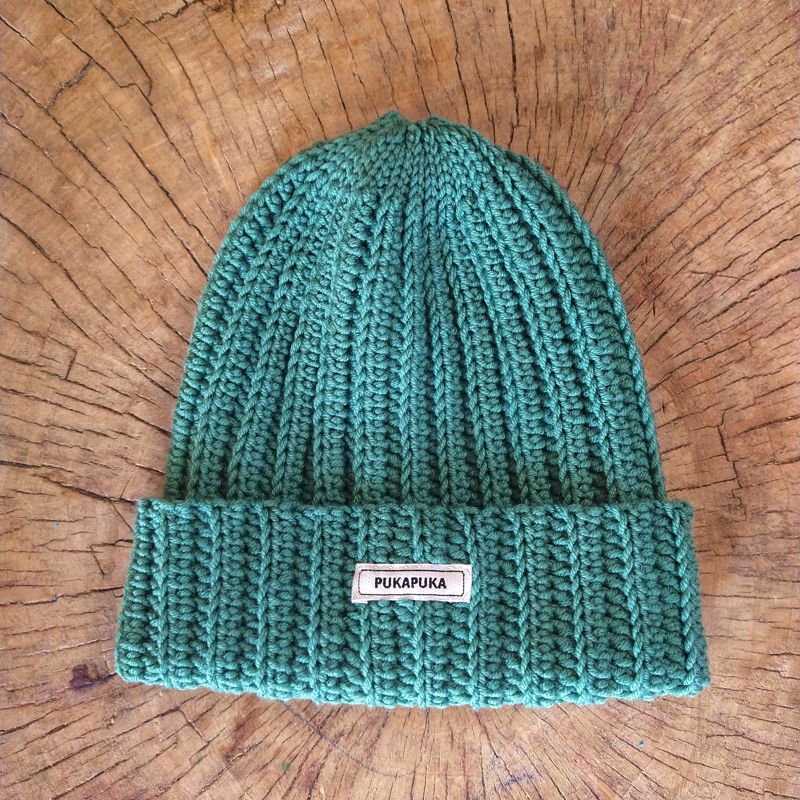
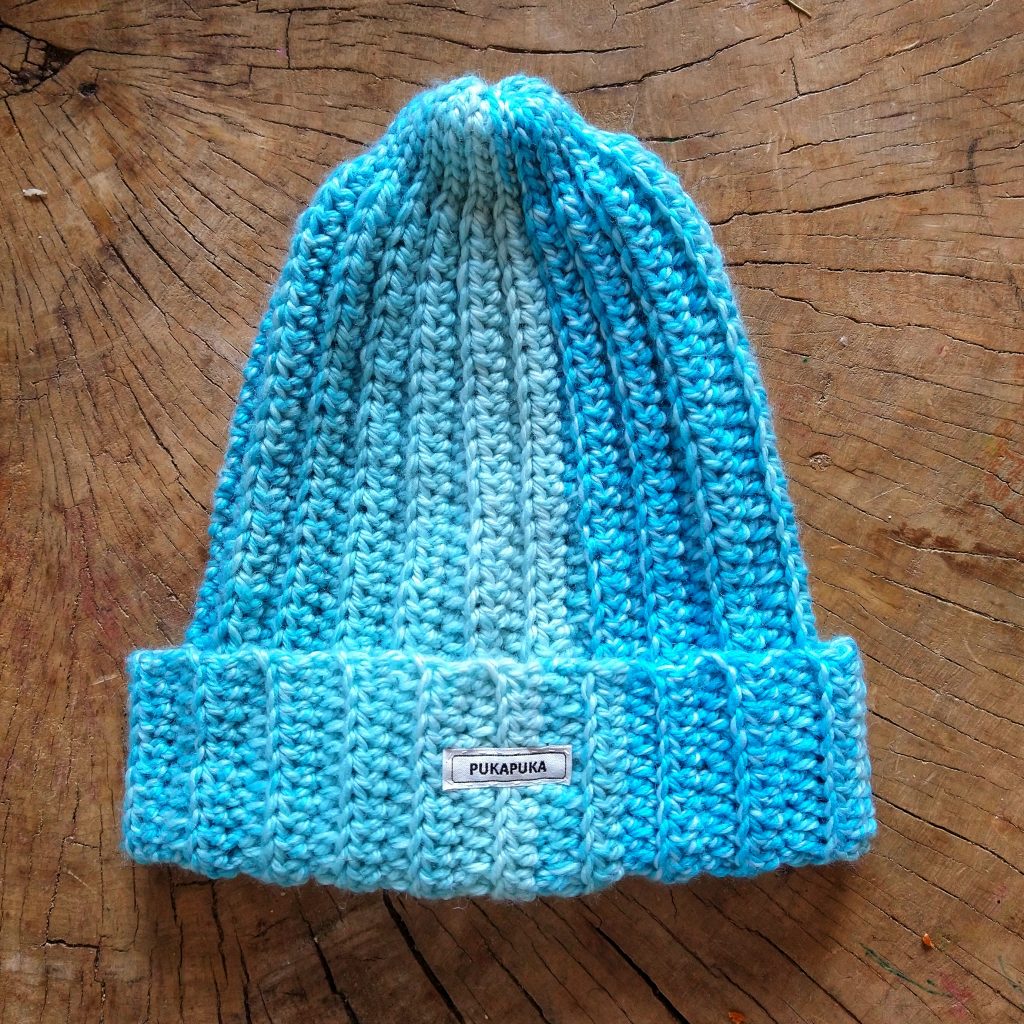
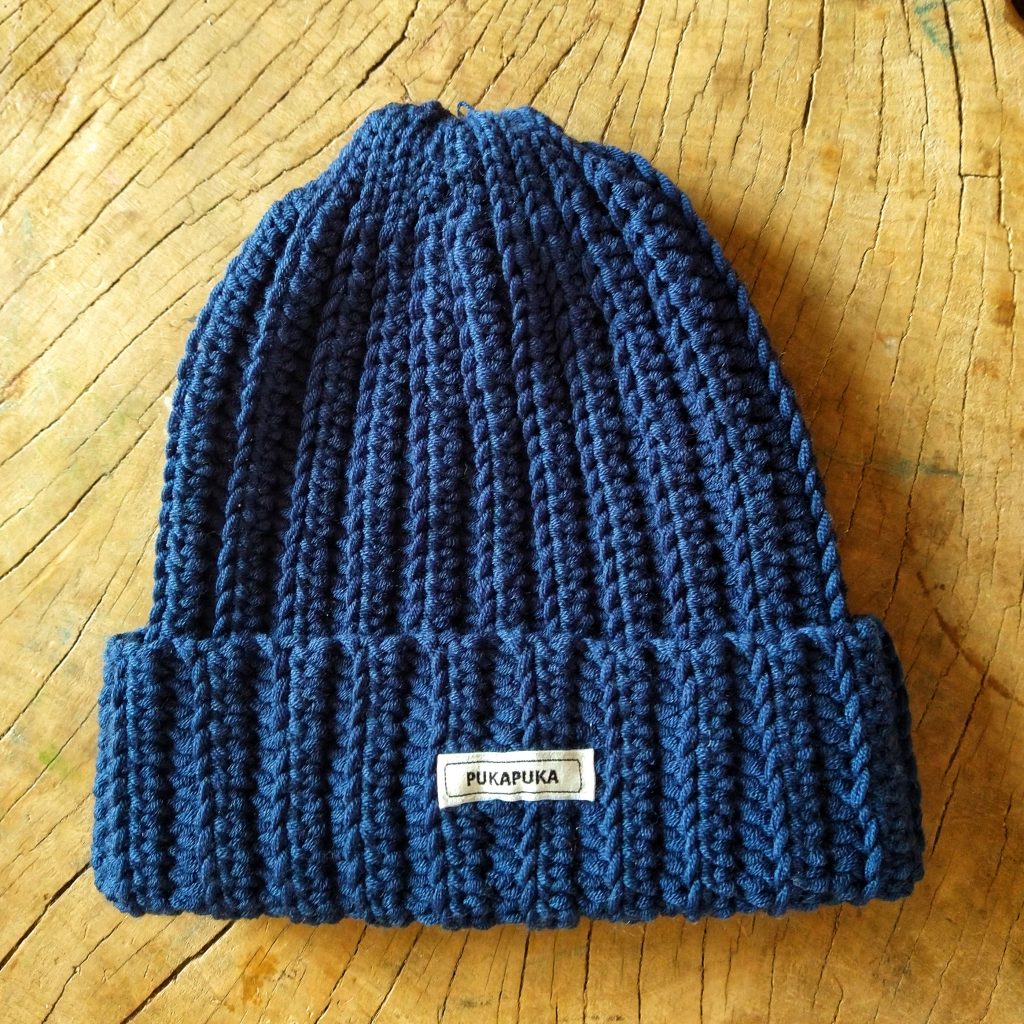
Below see a few examples of Fisherman Beanie made of different yarns and colors. The rules are always the same: foundation chain defines the length of the beanie, number of rows defines its width. We owe the neat narrower top to slip stitches.
Thank you so much for crocheting with Pukapuka! If you like the pattern, please consider supporting me by taking one of those actions:
Purchase printable PDF on Etsy HERE or on LoveCrafts HERE.
Add this pattern to your Ravelry account HERE.
Pin it for later HERE.
I’ve worked hard to make the pattern accurate and the instructions clear. However, in case you have any trouble with this pattern or you find a mistake, do not hesitate to contact me: pukapukapl@yahoo.com.
I will do my best to contact you asap.
Tag me @pukapukapl on Instagram or Facebook so that I can see your makes and for a chance to be featured!