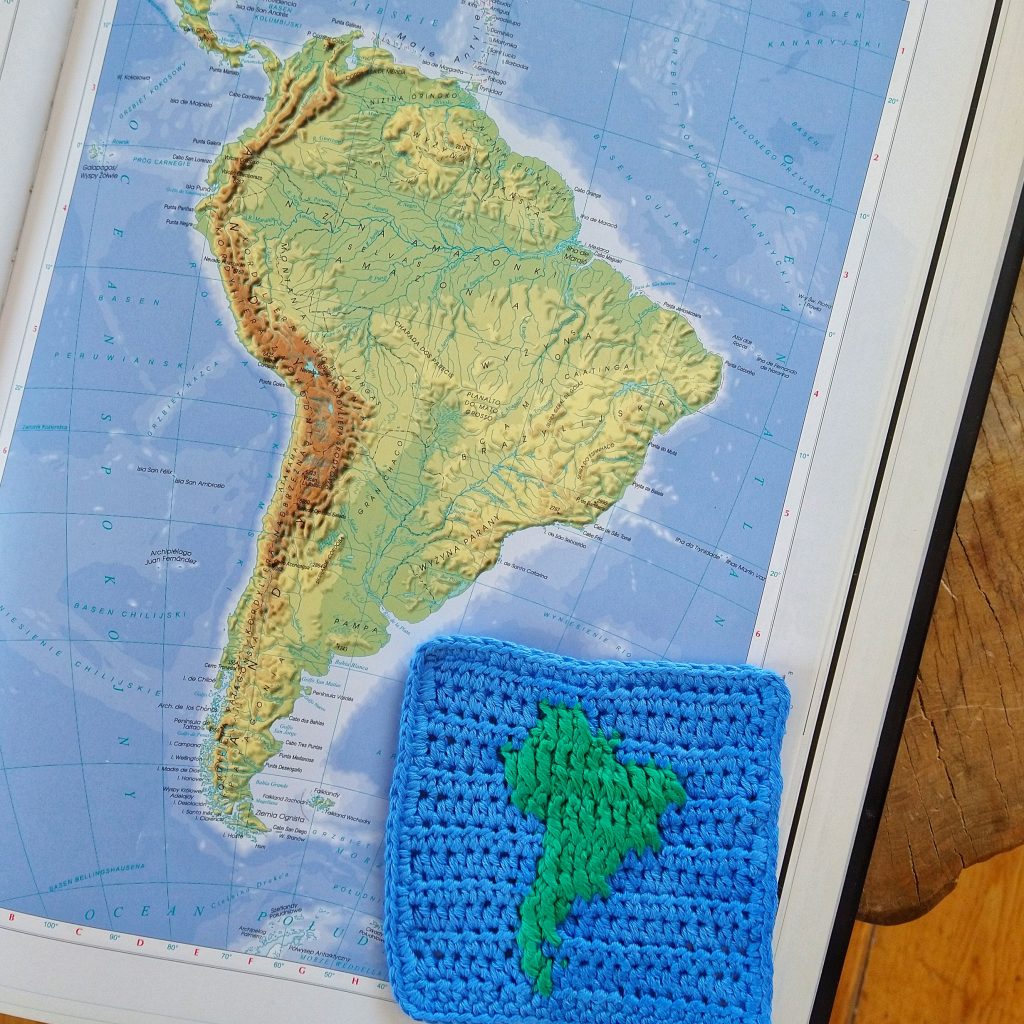
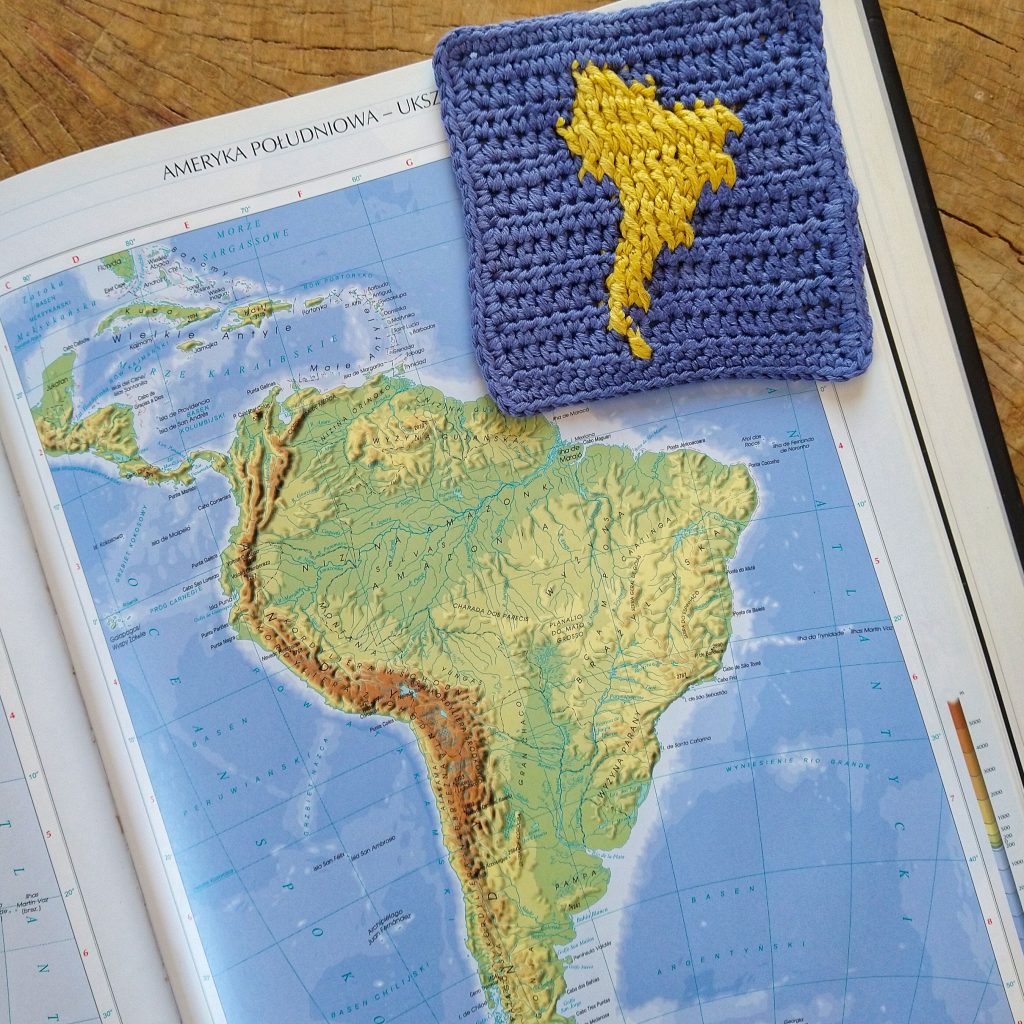
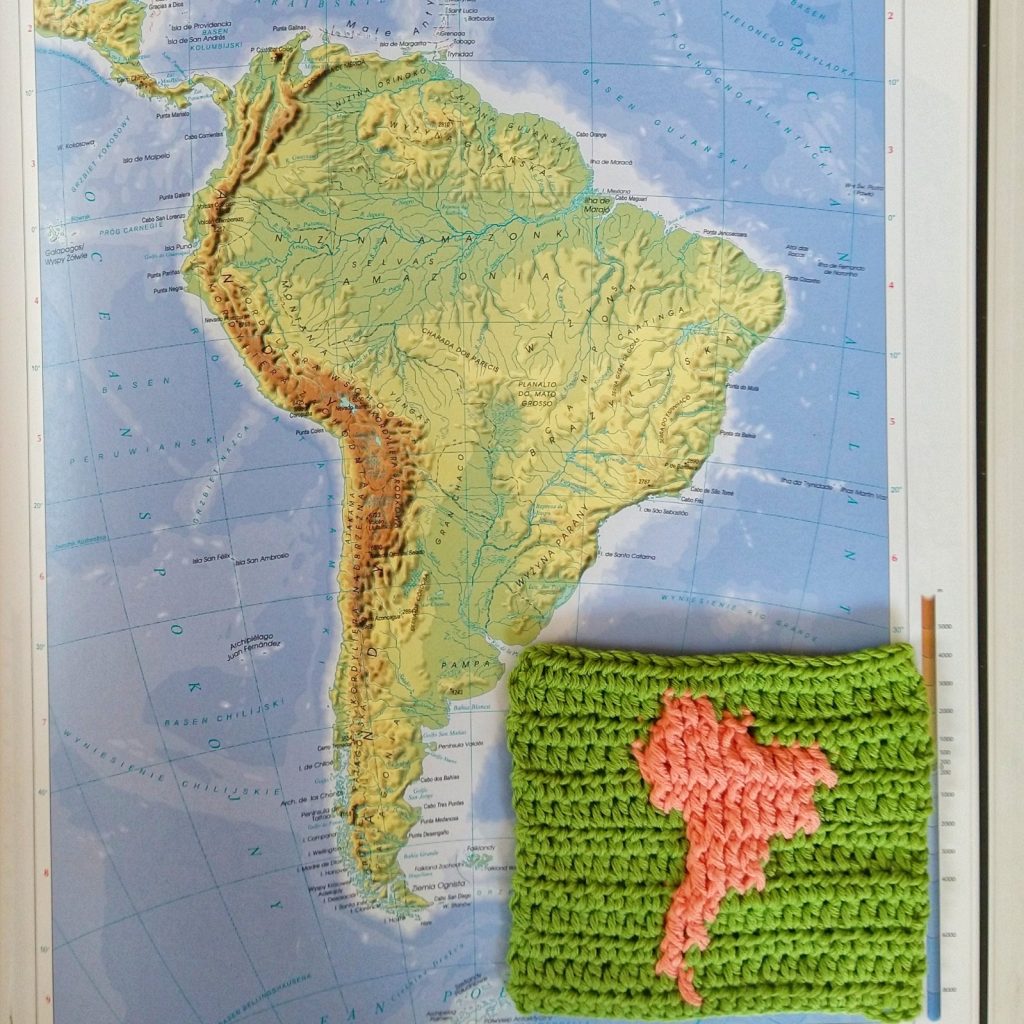
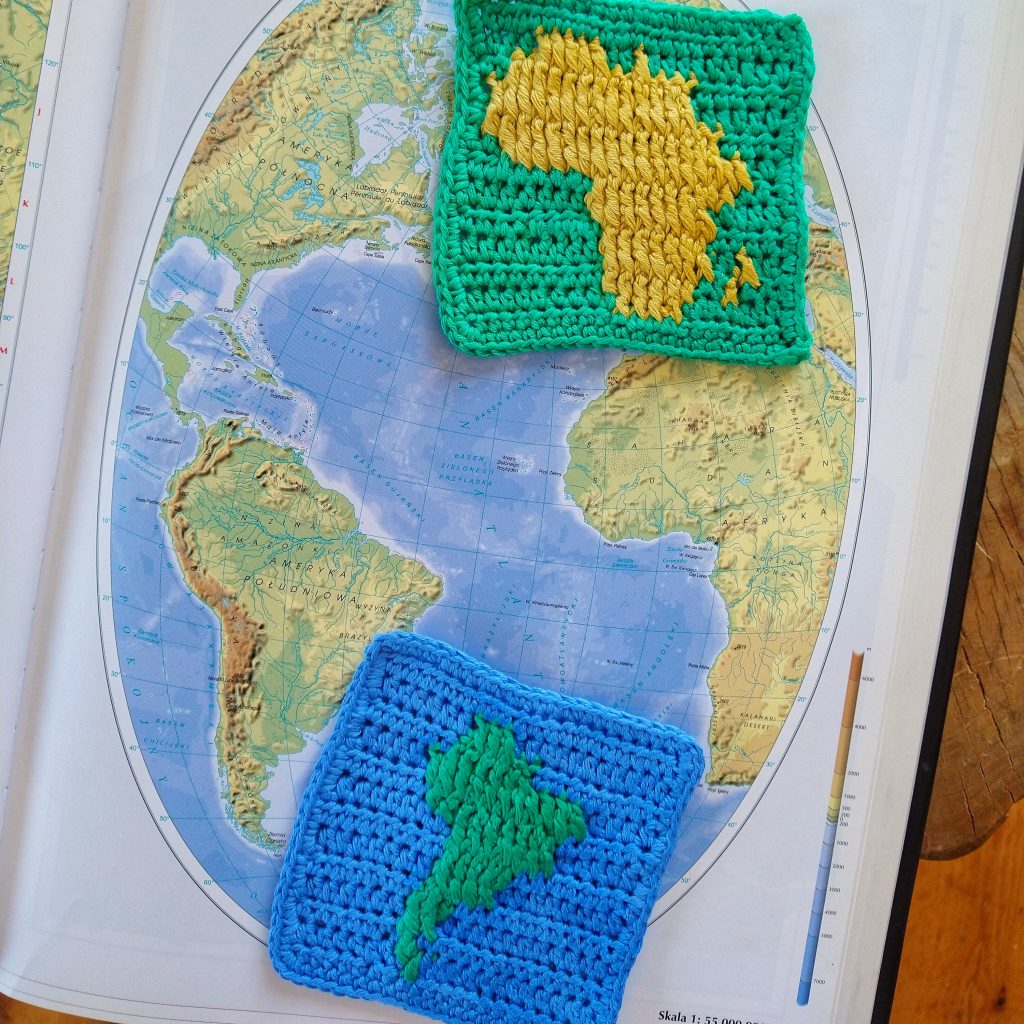
One of the reasons I love crocheting so much is that you can use really simple stitches, really simple motifs and turn them into… whatever. Granny square is a great example, beacuse of its versatility and, yes!, simplicity.
There are cushions, blankets, bags, pouches, shawls, jumpers and cardigans or dresses made of the classic granny square motif. Just change colors, change yarn or hook size and you have different style with the same pattern. Join in different way, and you have another shape.
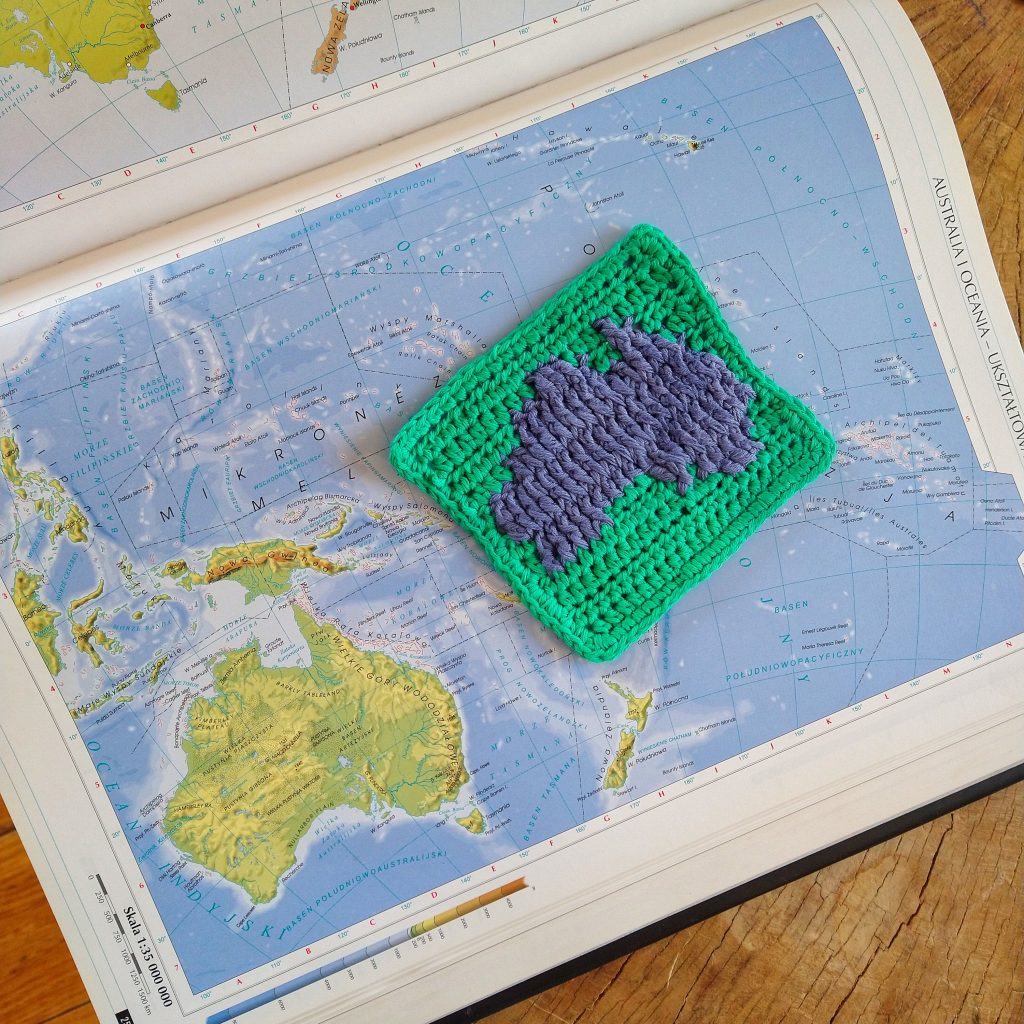
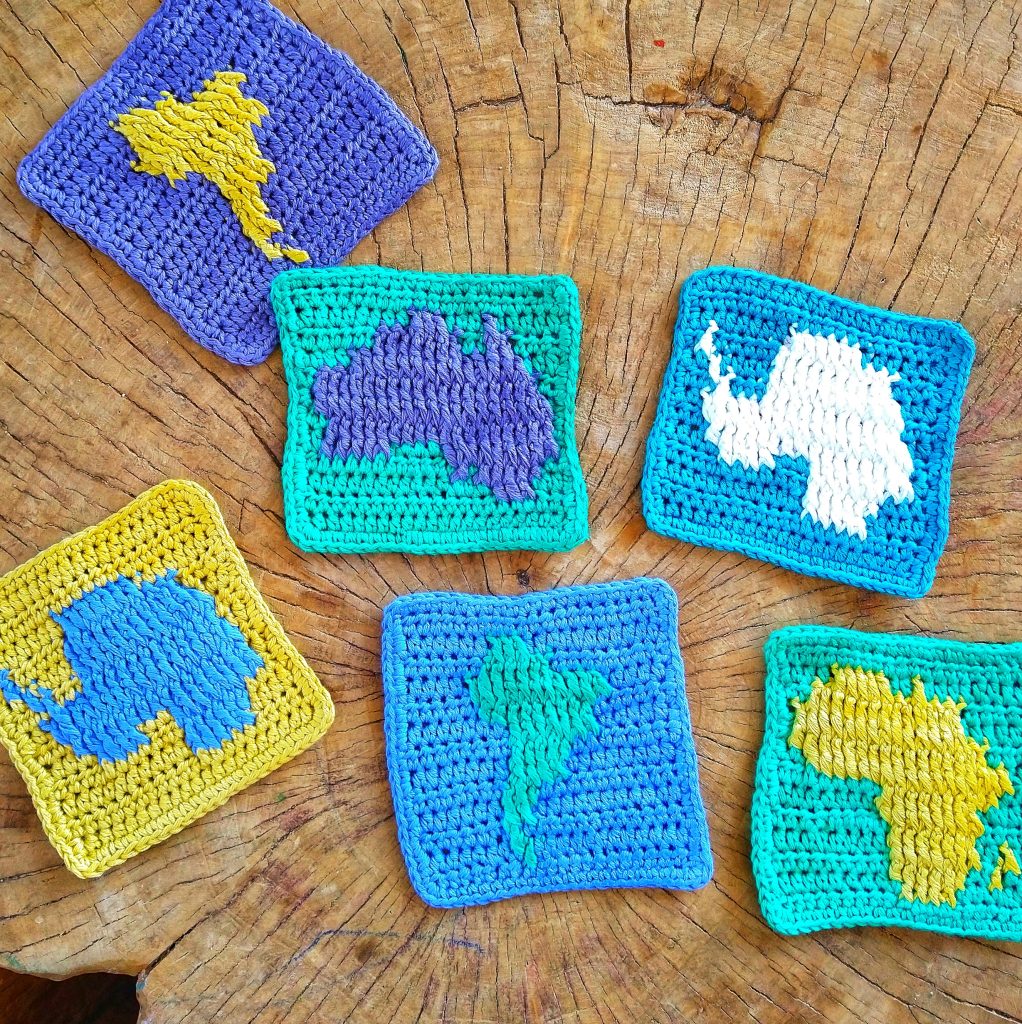
It is amazing what a crocheter can fit in a 10x10cm/4″x4″ square. Possibilities are endless, but I challanged myself to write a pattern for a tiny MAP. I decided to focus on continents. Europe, Asia and North America, however, have a bit too complicated shoreline, but LADIES AND GENTLEMEN, please welcome MAP SQUARES of:
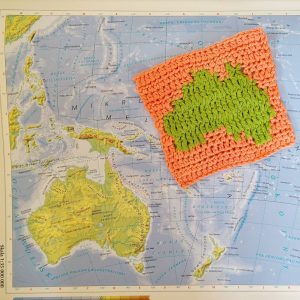
Australia!
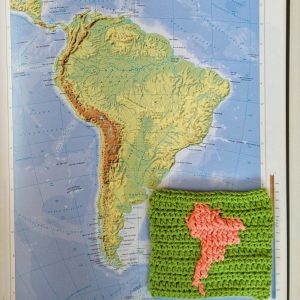
South America!
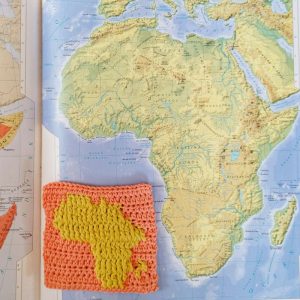
Africa!
And… yes, this elephant head, often omitted on maps (or shown as a thin belt somewhere at the bottom) is ANTARCTICA!
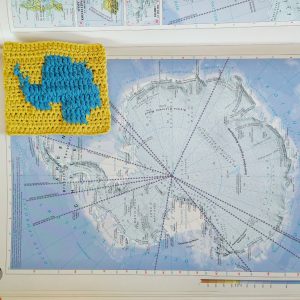
I wanted to make it the size to add to any granny square project. I can’t wait to see what you will use it for! Please do not forget to tag me @pukapukapl in social media, whenever you use it.
Below find the FREE pattern for one of them.
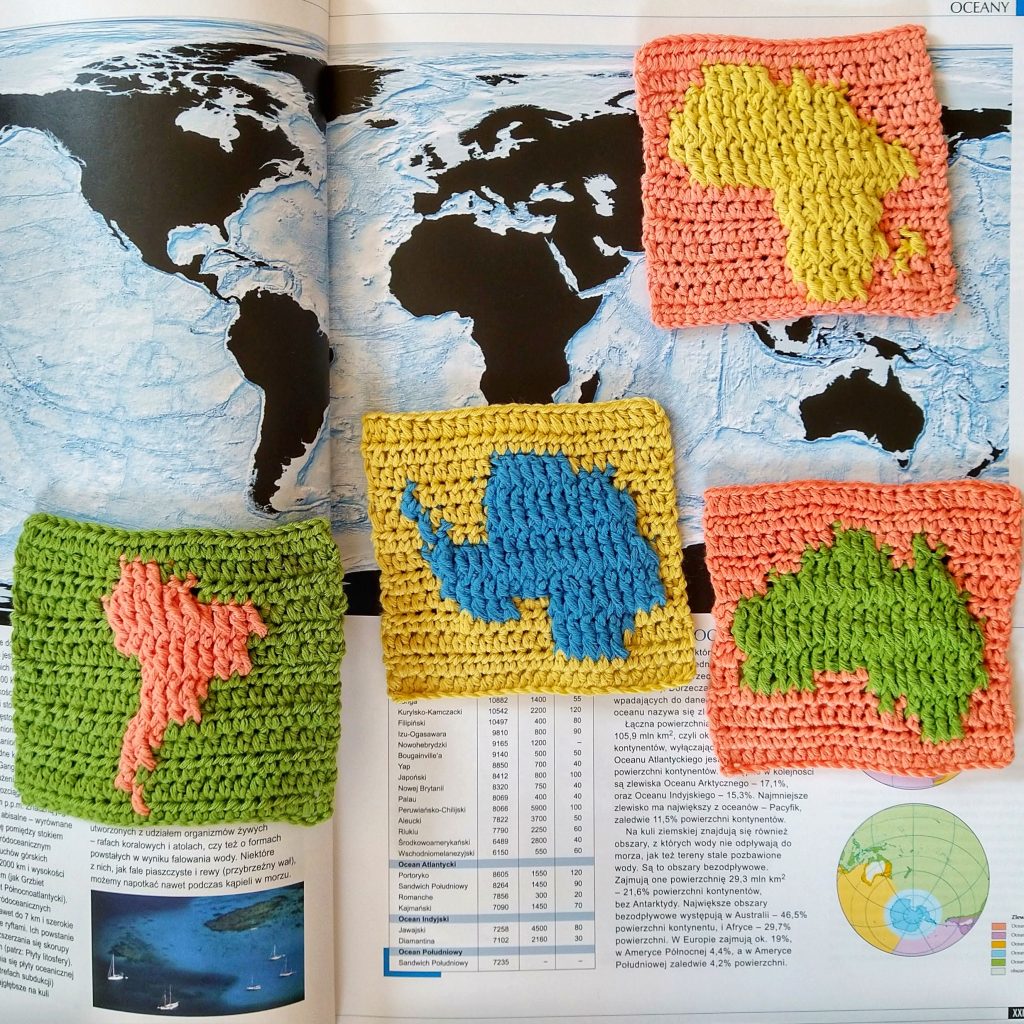
The whole collection is available as ad-free, printable pdf on Etsy HERE or on LoveCrafts HERE.
Add to your Ravelry queue HERE.
Pin it for later HERE.
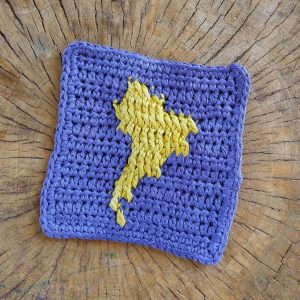
As usual, I wanted to make my map designs as accurate as possible. Also my idea was to add a bit of texture to the square. To achieve this, I used front post double crochet and back post double crochet stitches. I explained them below, in case you are not familiar with them. I invite you to start with beautiful South America square, find free pattern below.
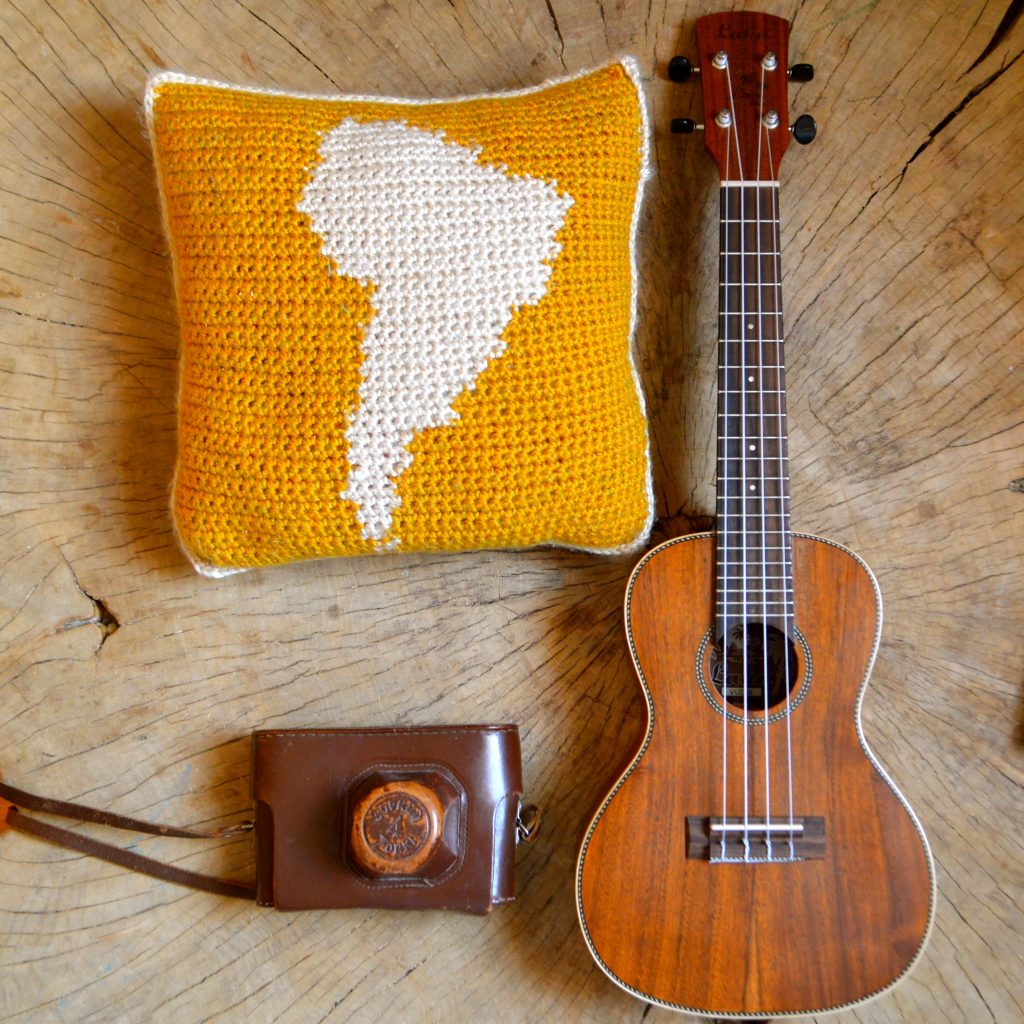
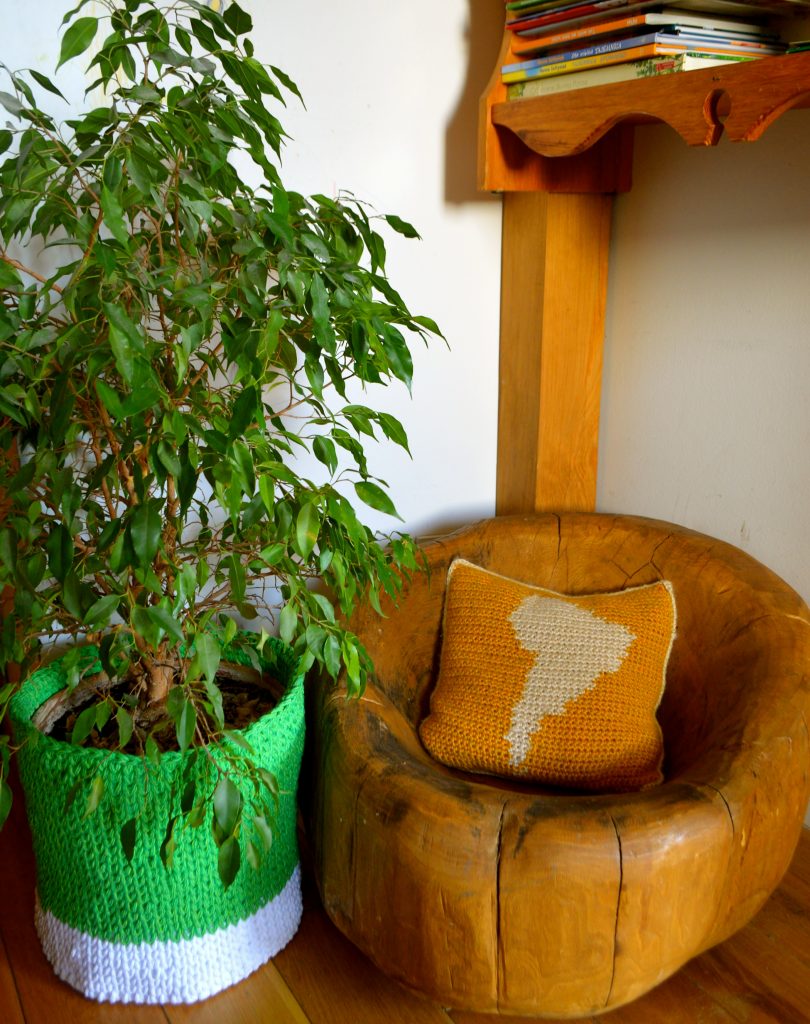
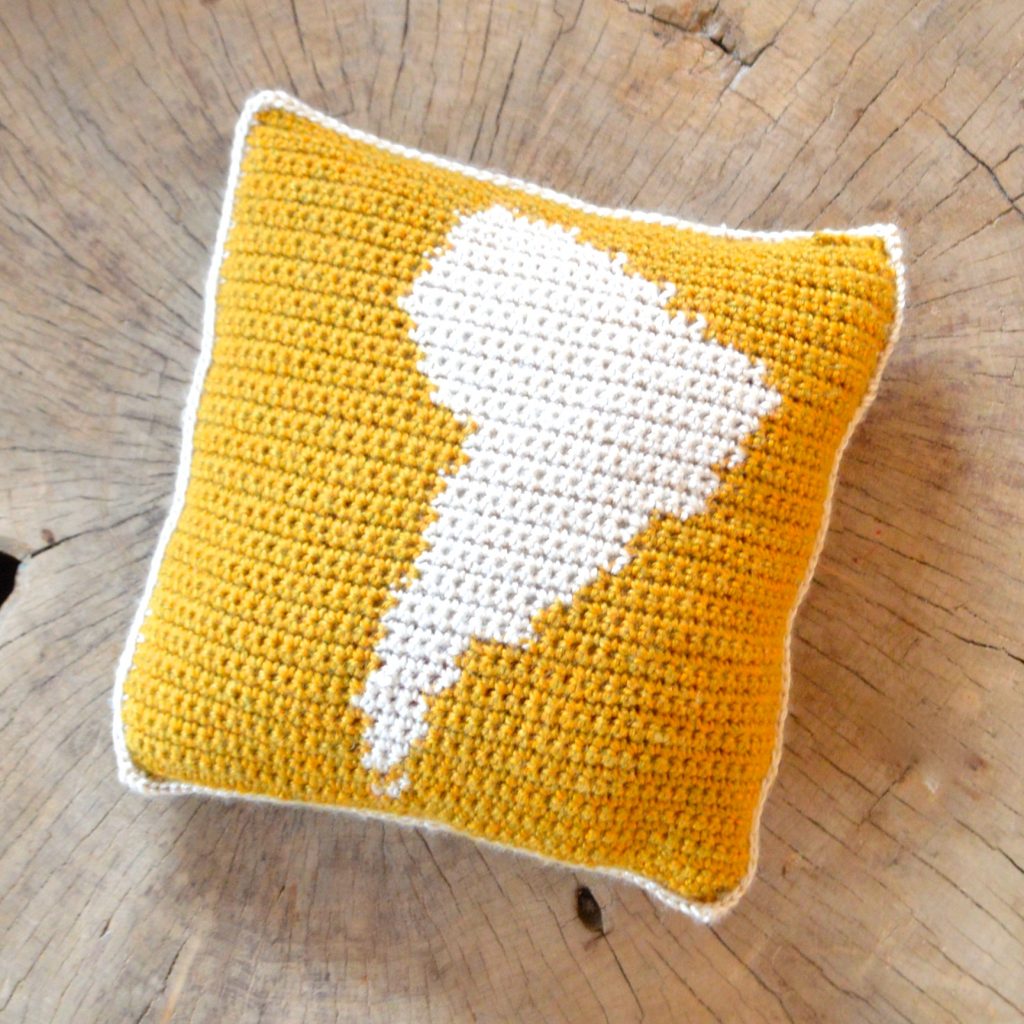
And if you’re South America fan, have a look at my South America Pillow Free Pattern or many more map patterns in my Etsy shop.
SOUTH AMERICA GRANNY SQUARE Free Crochet Pattern
Supplies
-US D-3 (3 mm) crochet hook
-Yarn: Stylecraft Naturals – Organic Cotton (100% organic cotton, 105m/115yds in 50g/1.8oz): small amounts (less
than 10g/0.35oz) in two colors for each square. For yarn substitution see: yarnsub.com.
-Scissors
-Yarn needle
Gauge
21 sts and 13 rows measure 10x10cm/4″x4″
Size
Finished square measures 10x10cm / 4”x4”
Abbreviations (in US terms)
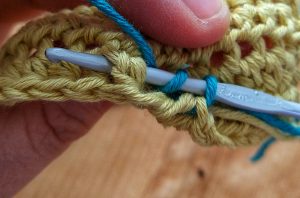
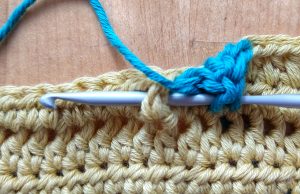
bpdc – back post double crochet: work as a regular double crochet stitch, but not into the top of the stitch, but around its post. Yo, instert hook into the back of the fabric, around the front of the post and bring out hook on other side of post. Continue as regular dc stitch: yo, pull up a loop, yo, pull throught 2 loops on hook, yo and pull through 2 remaining loops. See picture, where to insert your hook.
ch – chain
fpdc – front post double crochet: work as a regular double crochet stitch, but not into the top of the stitch, but around its post. Yo, instert hook into the front of the fabric, around the back of the post and bring out hook on other side of post. Continue as regular dc stitch: yo, pull up a loop, yo, pull throught 2 loops on hook, yo and pull through 2 remaining loops. See picture, where to insert your hook.
hdc – half double crochet
rep – repeat
RS – right side
sc – single crochet
sl st – slip stitch
st(s) – stitch(es)
WS – wrong side
yo – yarn over
Notes
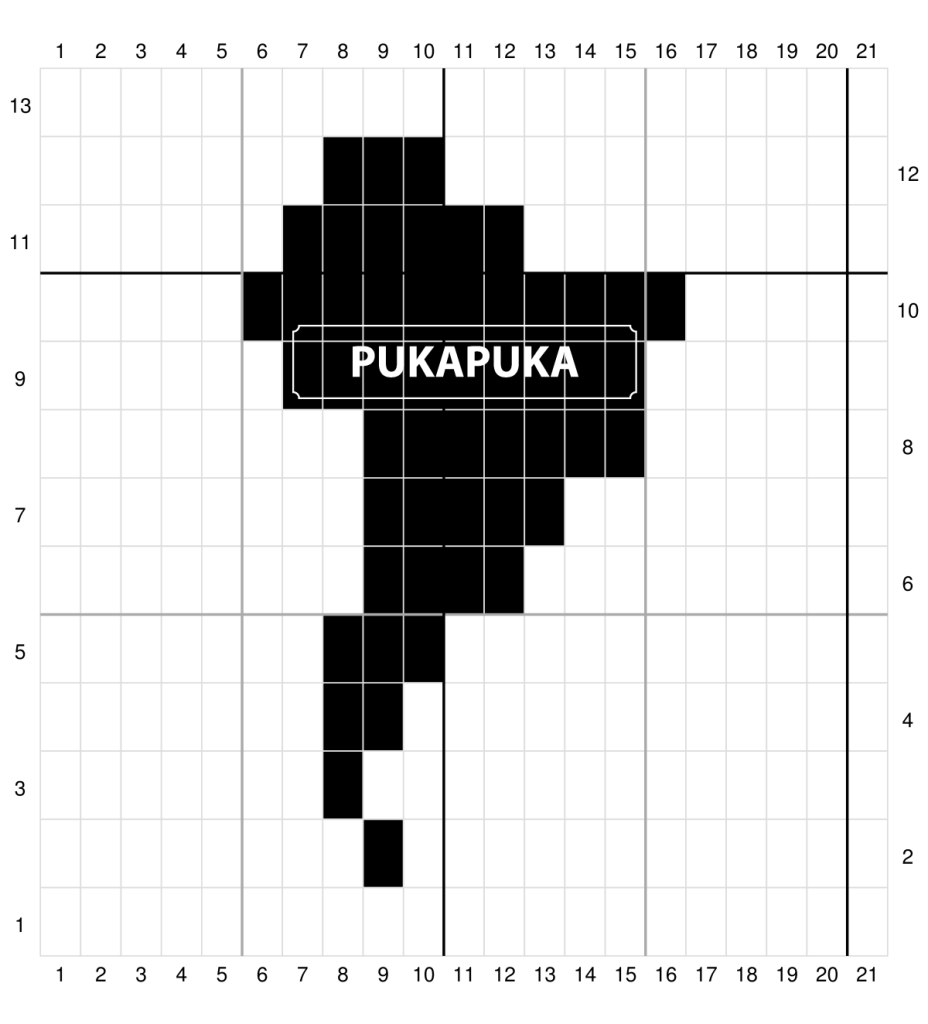
● Square is worked in rows from the bottom. When you refer to chart, each white rectangle represents 1hdc worked in yarn A, each black rectangle represents 1fpdc in RS rows and 1bpdc in WS rows, worked in yarn B.
There’s also a row-by-row written pattern for your convenience.
● Use intarsia technique: before you start, divide your supply of yarn A into two parts. Use part
1 until you add yarn B, then drop part 1, work with yarn B given number of sts, drop yarn B
and continue with part 2 of yarn A. Keep all yarn ends on the WS.
● Change color on the final yo of st before color change is indicated.
How to read written pattern:
← Row 7 [RS]: A25, B15, A35
● Arrow indicates direction of row.
● RS means you work on the right side.
● Letter indicates which color of yarn to use.
● Number indicates how many sts of each color to work. Therefore, for this example, you’ll work
25 sts in color A, 15 sts in color B, 35 sts in color A. Then ch2, turn your work and proceed
with Row 8.
PATTERN
Using yarn A, ch23.
→ Row 1 [WS]: Hdc in third ch from hook and each ch across, turn. [21 sts here and throughout]
← Row 2 [RS]: Ch2 (does not count as st throughout), hdc in first 12 sts, change to yarn B, fpdc in
next st, change to yarn A, hdc in 8 final sts, turn.
→ Row 3 [WS]: A7, B1, A13
← Row 4 [RS]: A12, B2, A7
→ Row 5 [WS]: A7, B3, A11
← Row 6 [RS]: A9, B4, A8
→ Row 7 [WS]: A8, B5, A8
← Row 8 [RS]: A6, B7, A8
→ Row 9 [WS]: A6, B9, A6
← Row 10 [RS]: A5, B11, A5
→ Row 11 [WS]: A6, B6, A9
← Row 12 [RS]: A11, B3, A7
→ Row 13 [WS]: A21, turn.
Now work around edges as follows: *19 sc, 3 sc in corner, rep from * 3 times, sl st to first st.
Fasten off. Weave in ends.
Find all four map squares (including Australia, Africa, South America and Antarctica) as ad-free, printable pdf on Etsy HERE or on LoveCrafts HERE.
Add to your Ravelry queue HERE.
Pin it for later HERE.

